Previous iterations:
Hypotheses
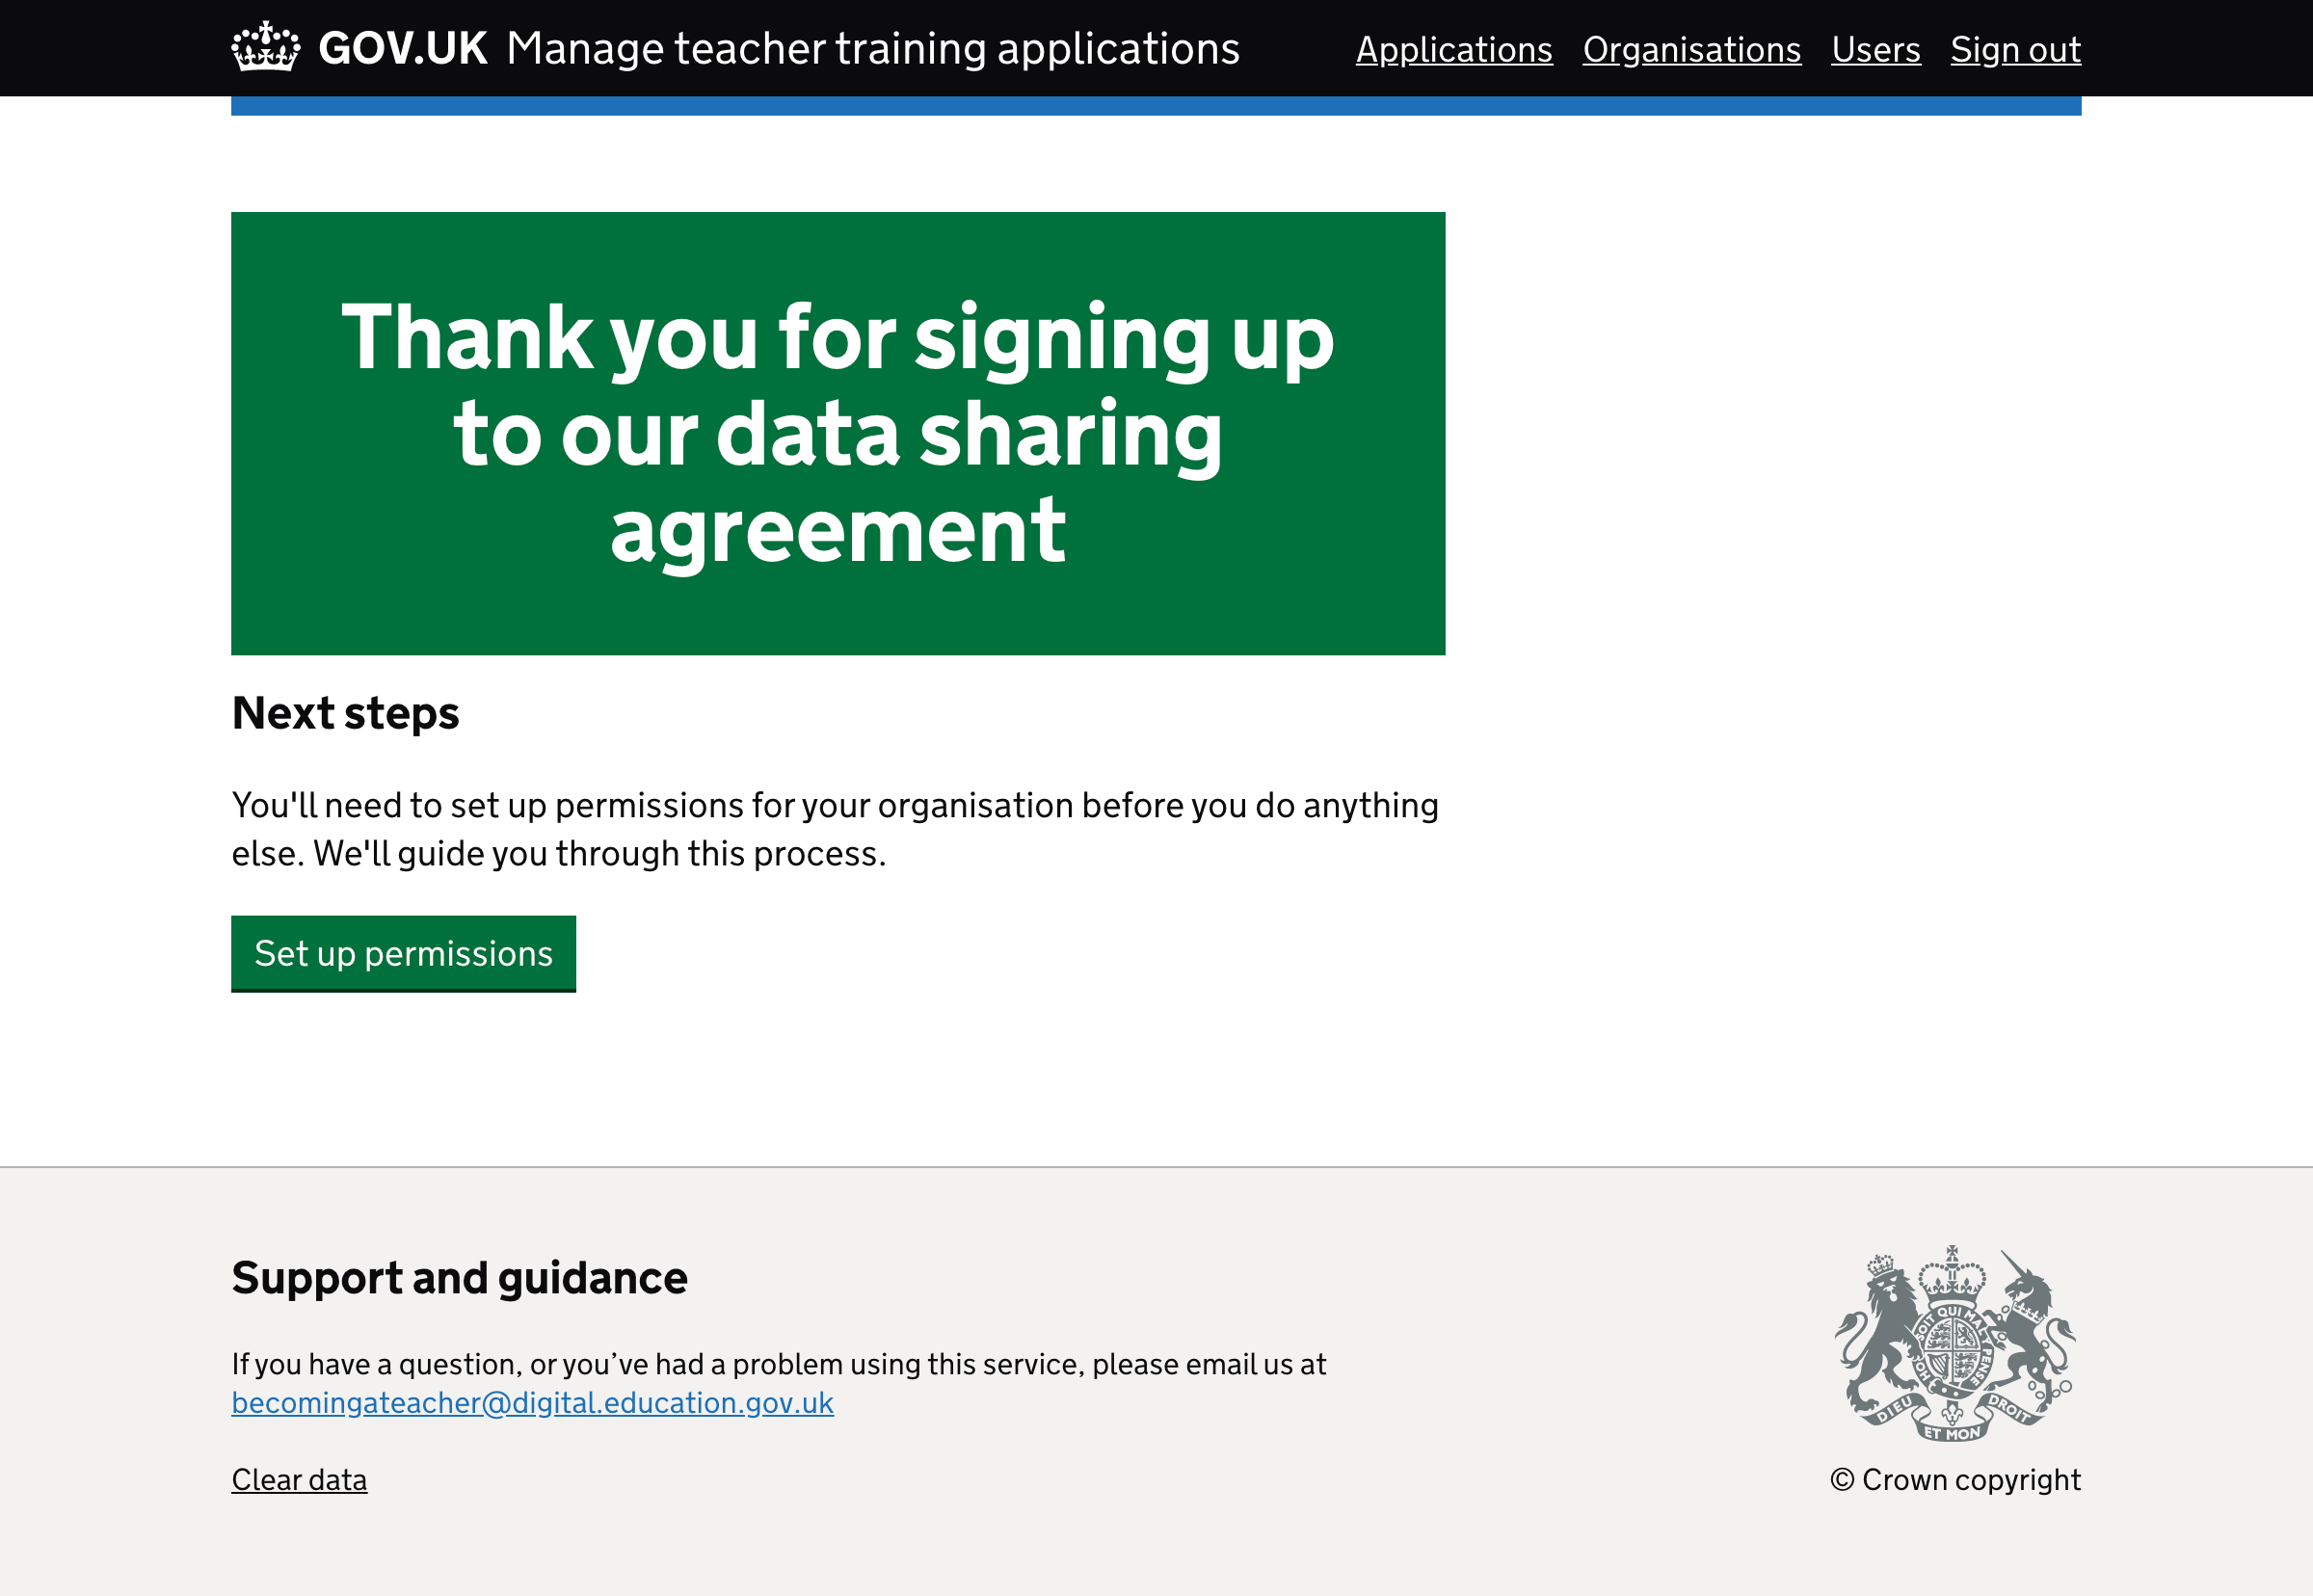
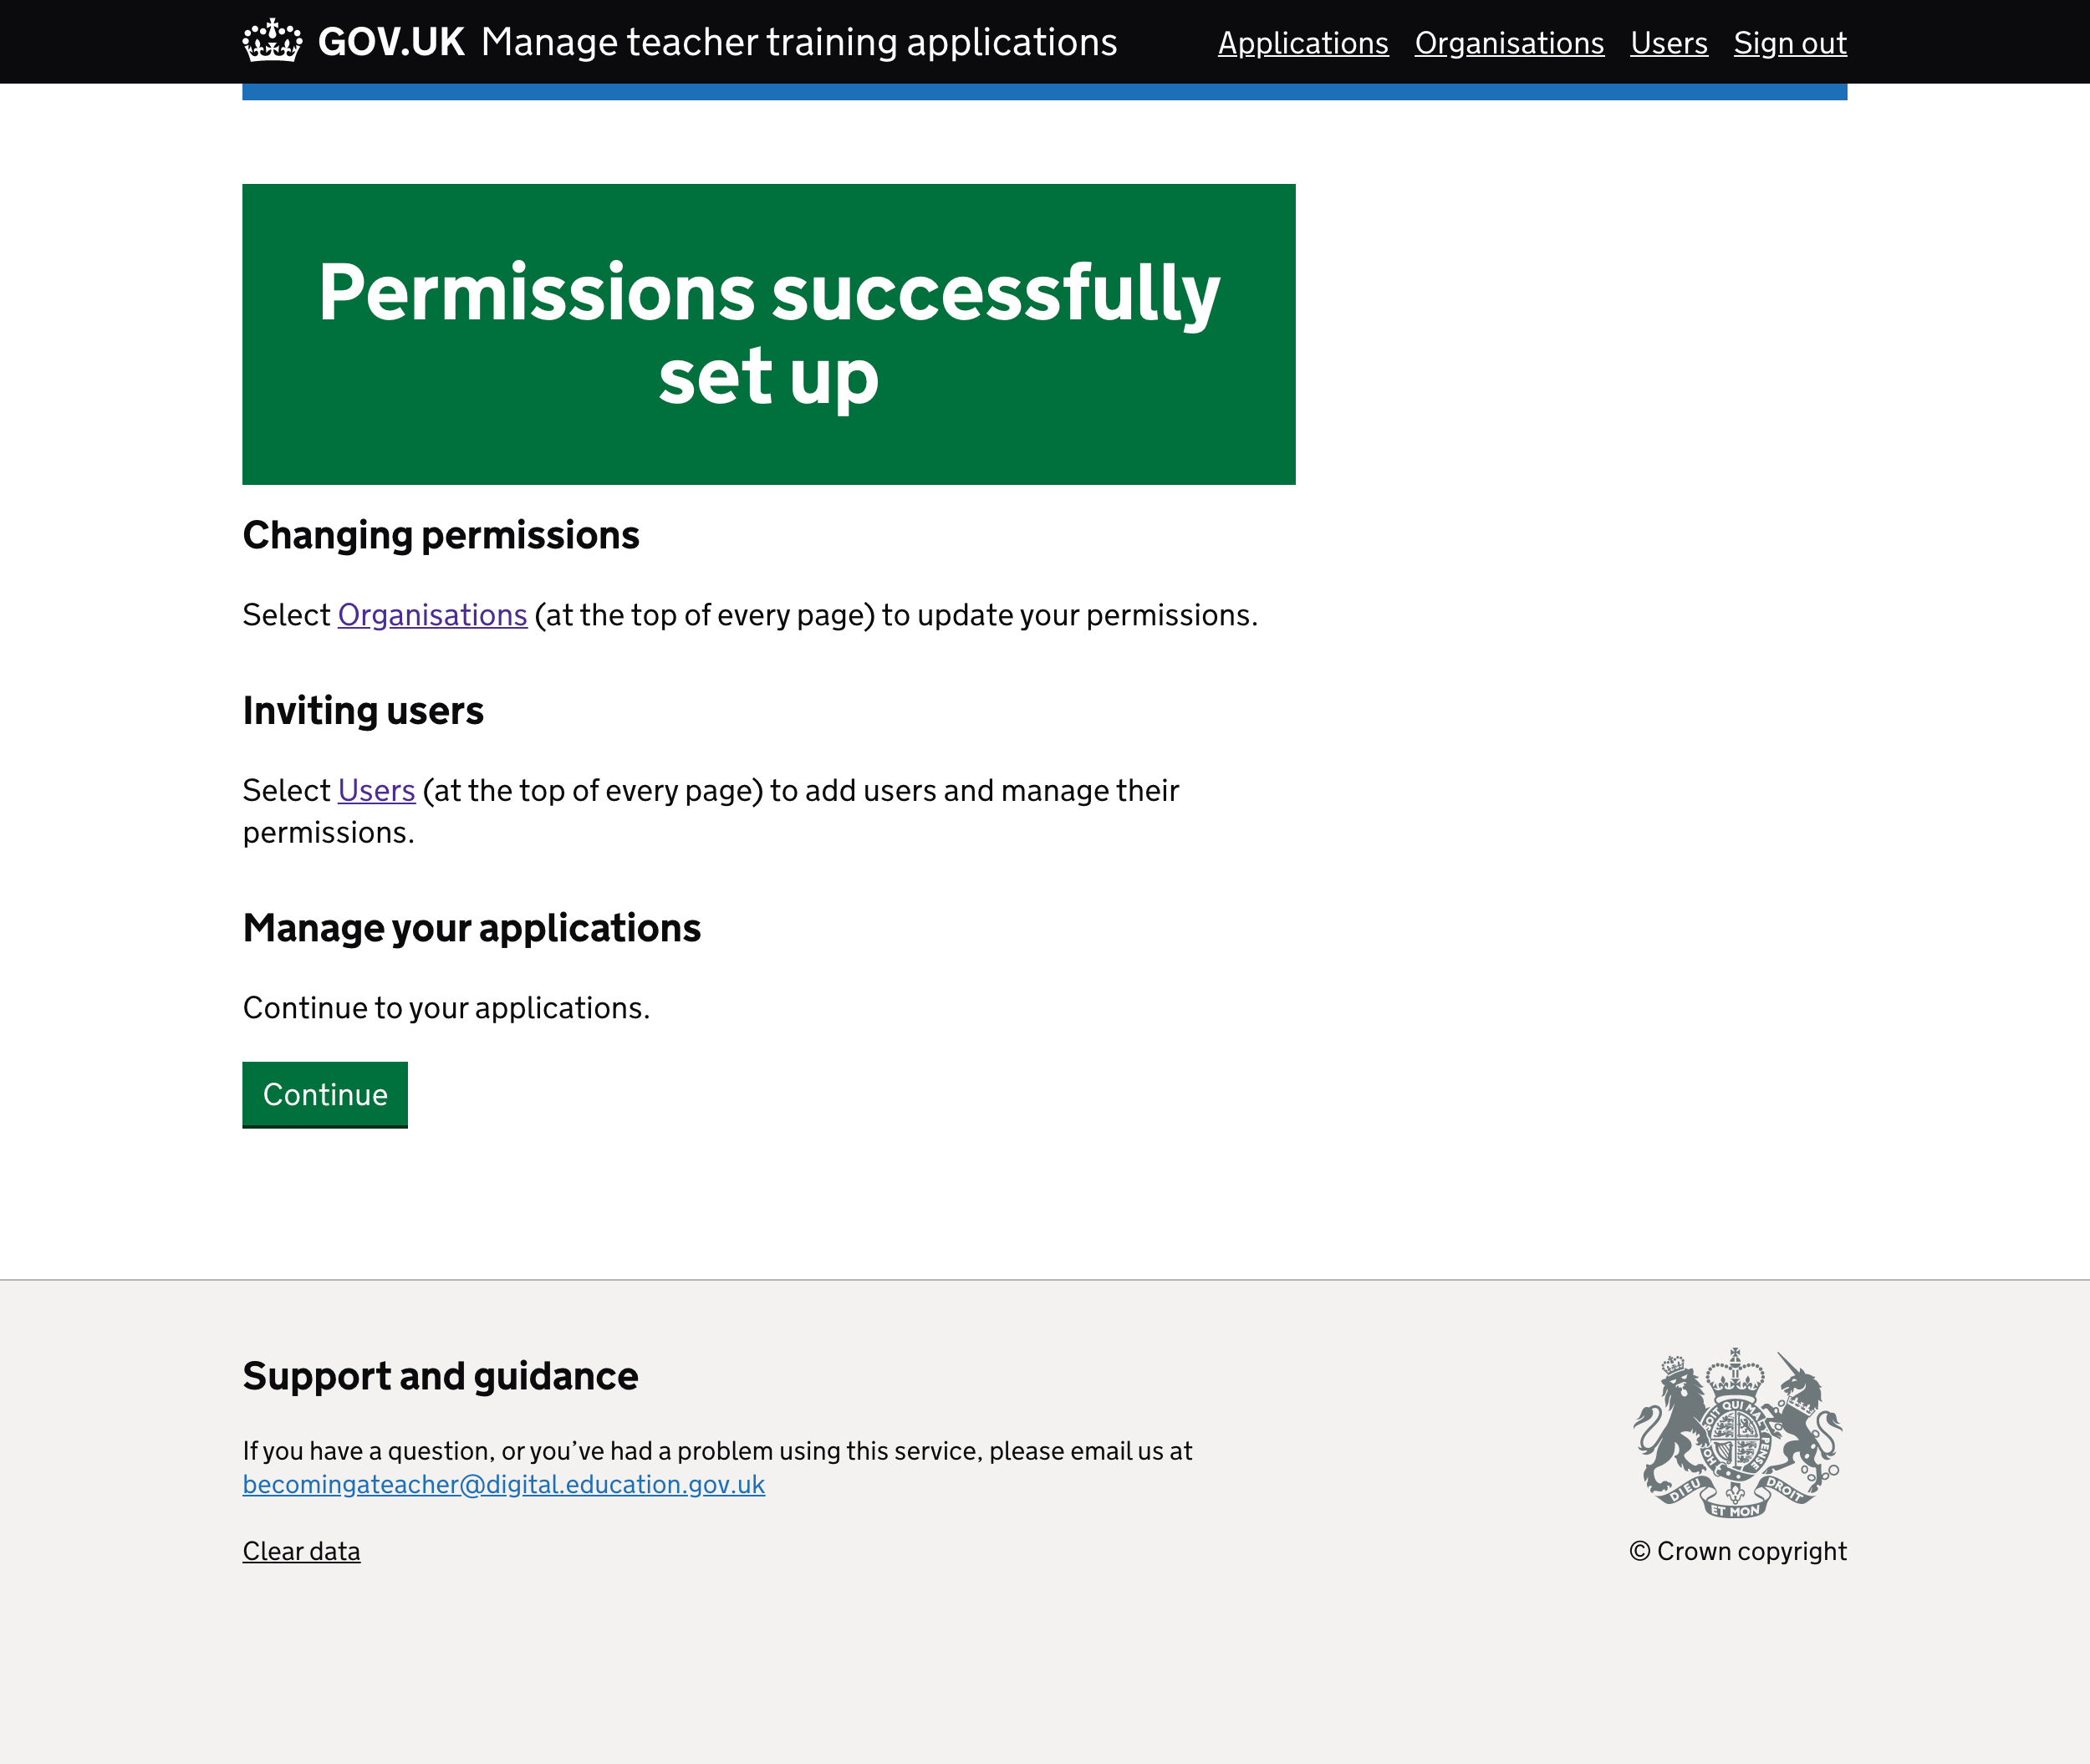
Show a confirmation page when agreeing to the data sharing agreement
When the user signs in for the first time, they have to agree to the data sharing agreement. Once they do, the previous iteration sent them straight to set up organisational permissions. This was more of an oversight than a conscious decision.
But really we need to make it clear that they have successfully agreed to the data sharing agreement and prompt them to set up their permissions explicitly.
If we show the user a confirmation page
Then they’ll know what’s happened and what they have to do next
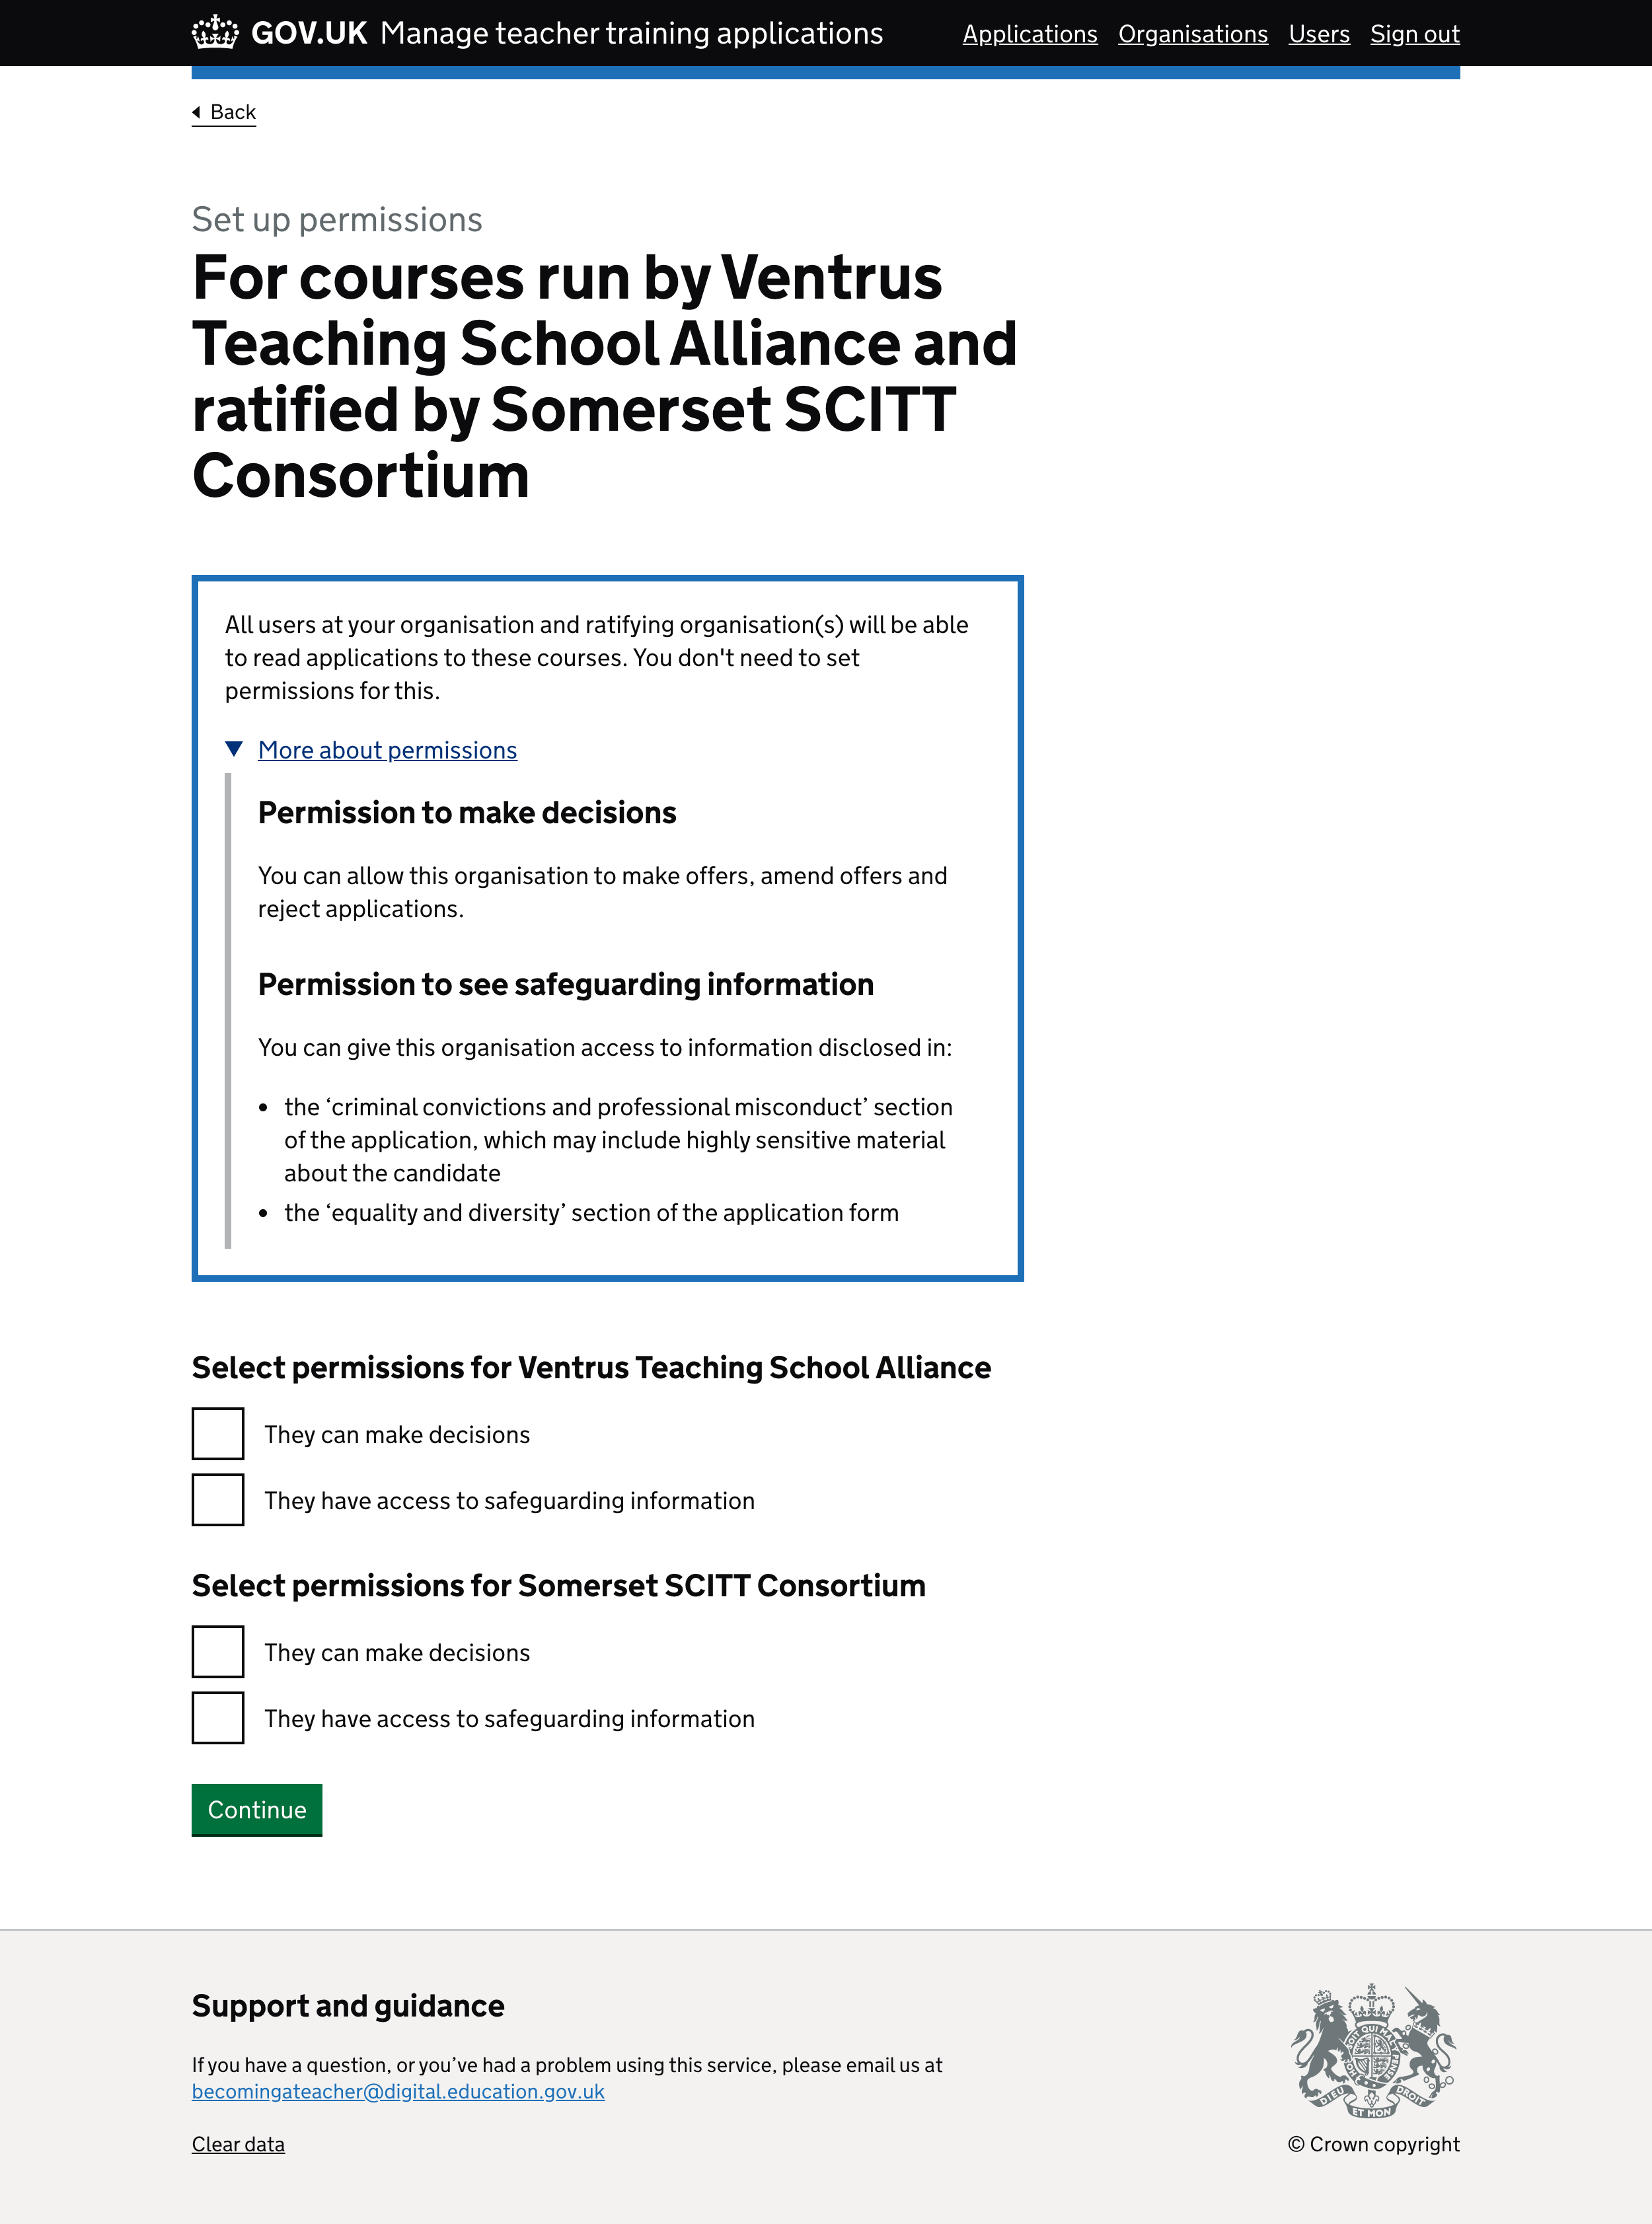
Don’t ask users to set up permissions for courses that they both run and ratify
In the previous iteration we asked the user to set up permissions for courses their organisation both runs and ratifies.
But this is unnecessary because they’ll need to be able to do everything as there’s no one else to do it.
If both permissions are automatically set for courses that are run and ratified by the same organisation
Then users don’t need to manually do this task themselves
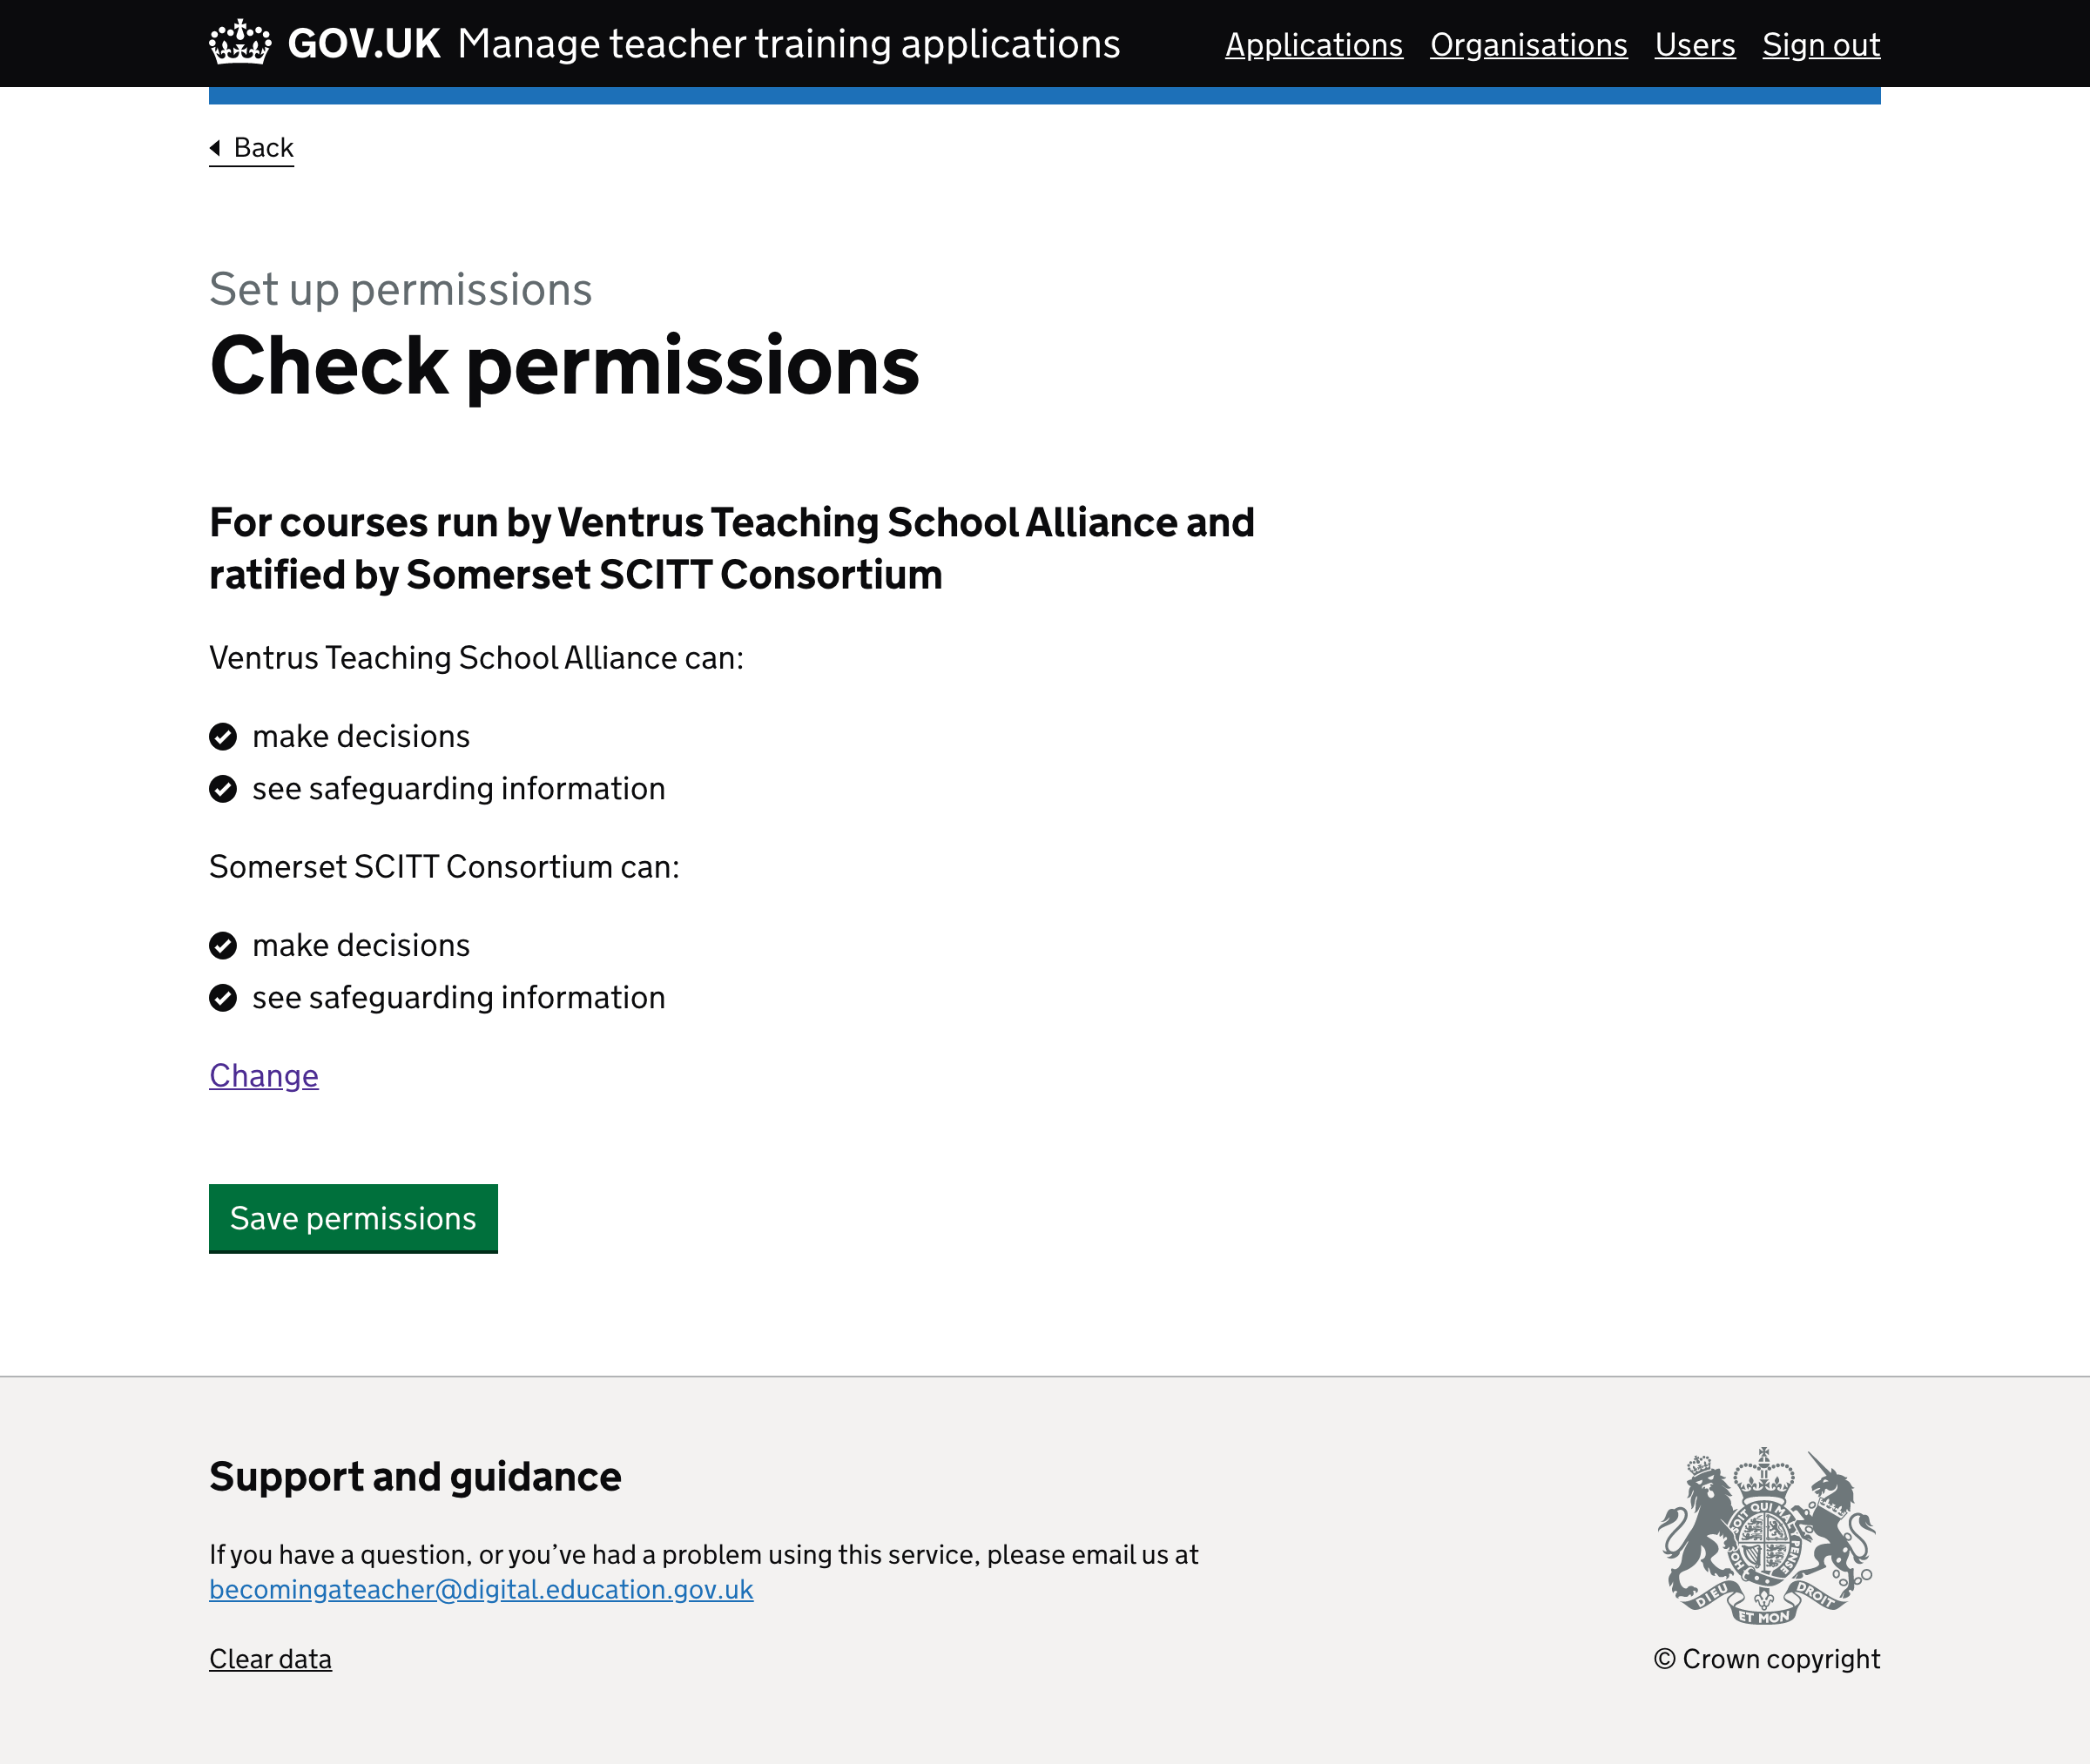
Check answers layout when setting up organisational permissions
In the previous iteration we used a standard check answers page. But the key-value pairs are really long which makes the content hard to read.
If we stack the content instead of using the summary list component
Then the content will be much easier to read
Make sure the heading makes sense when setting up user-level permissions
In the previous iteration the heading on the user permissions page read ‘Select permissions for courses run by Ventrus Teaching School Alliance’.
But that only makes sense for the ‘Make decisions’ and ‘Access safeguarding information’ permissions — not the ‘Manage organisation’ and ‘Manage users’ permission.
If the title is changed to ‘Select permissions: Ventrus Teaching School Alliance’
Then it makes sense for all 4 permissions
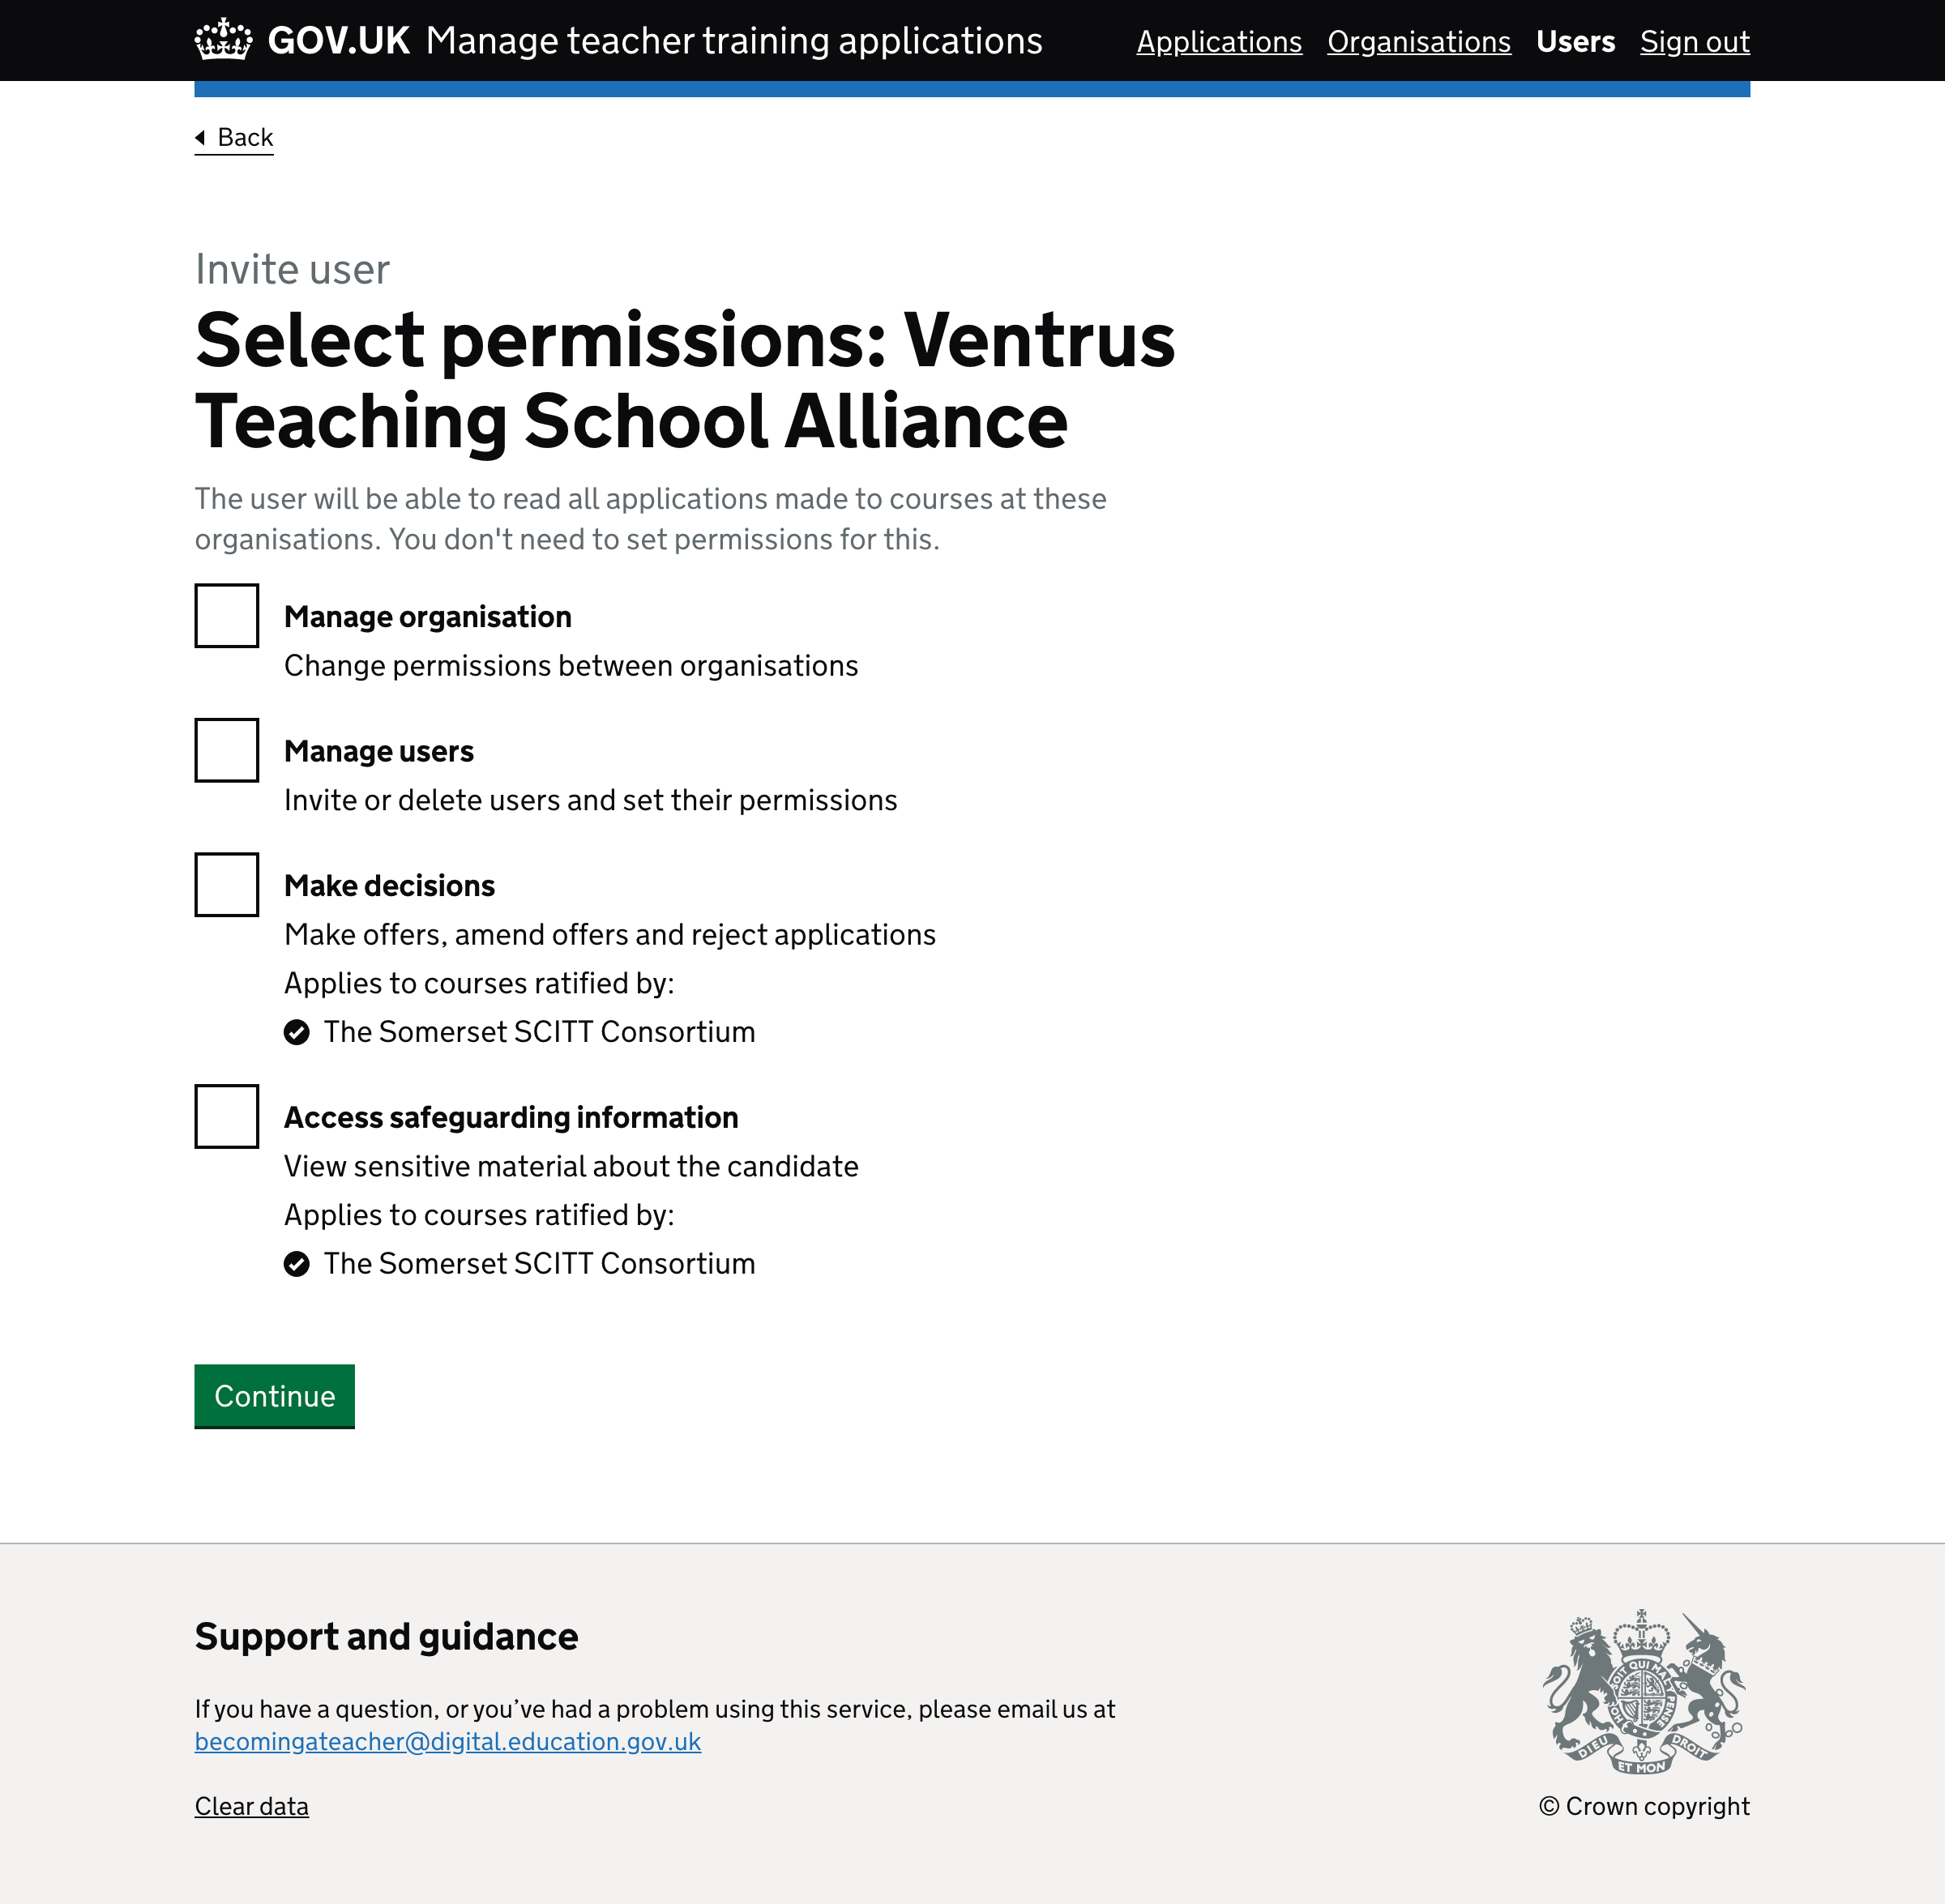
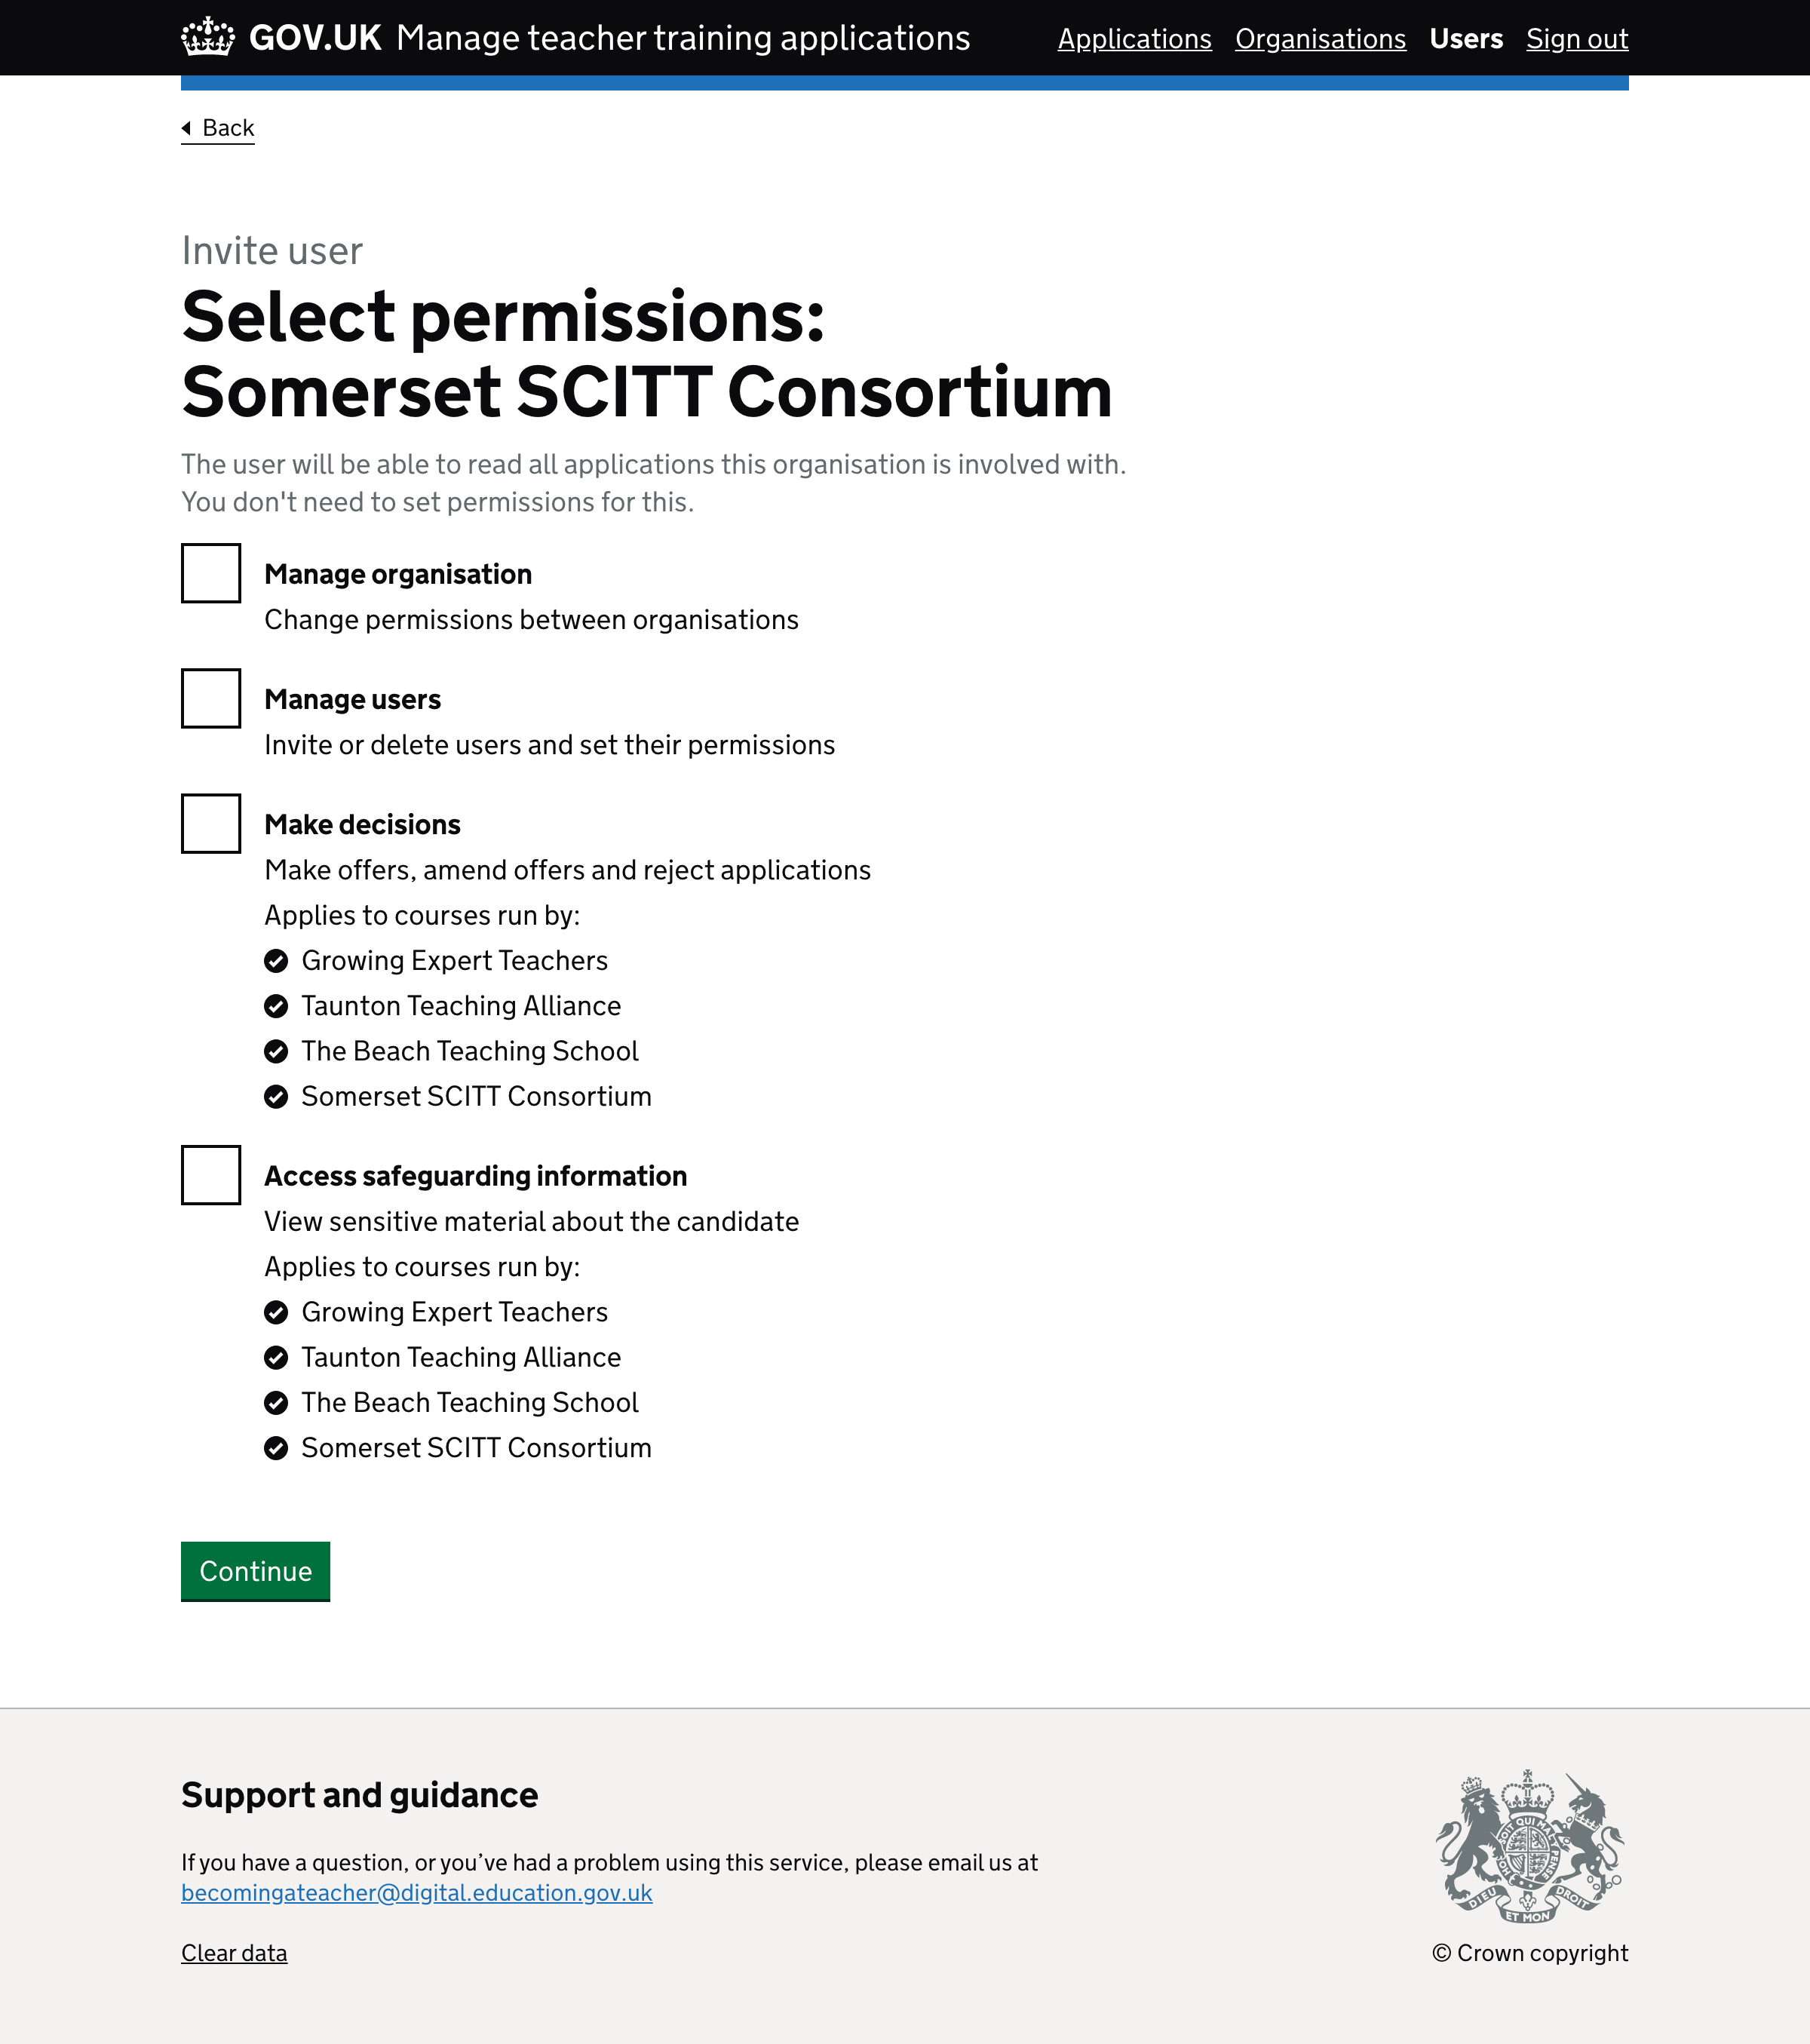
Make sure the content makes sense when inviting a user to an accredited body
In the previous iteration the hint text for the ‘Make decision’ and ‘Access safeguarding information’ permissions read ‘This user will be able to [permission description] on courses ratified by [accredited bodies]’.
But this is wrong when the user works for an accredited body. It should read something more like ‘Applies to courses run by [training providers]’.
If we change the hint text to work for an accredited body
Then users won’t be confused by incorrect descriptions
Warn the user of the consequences of inviting someone from outside of their organisation
Inviting a user outside of your organisation means they’ll be able to view all applications to courses they look after. They’ll also be able to make decisions about applications and view sensitive information, if given permission.
This might be fine, but without guidance, the user might accidentally invite someone from say one accredited body to be able to see courses that are ratified by another.
If we warn the user of the consequences of inviting someone ot their organisation
Then it will be far less likely that the they’ll invite someone from outside of their organisation by mistake

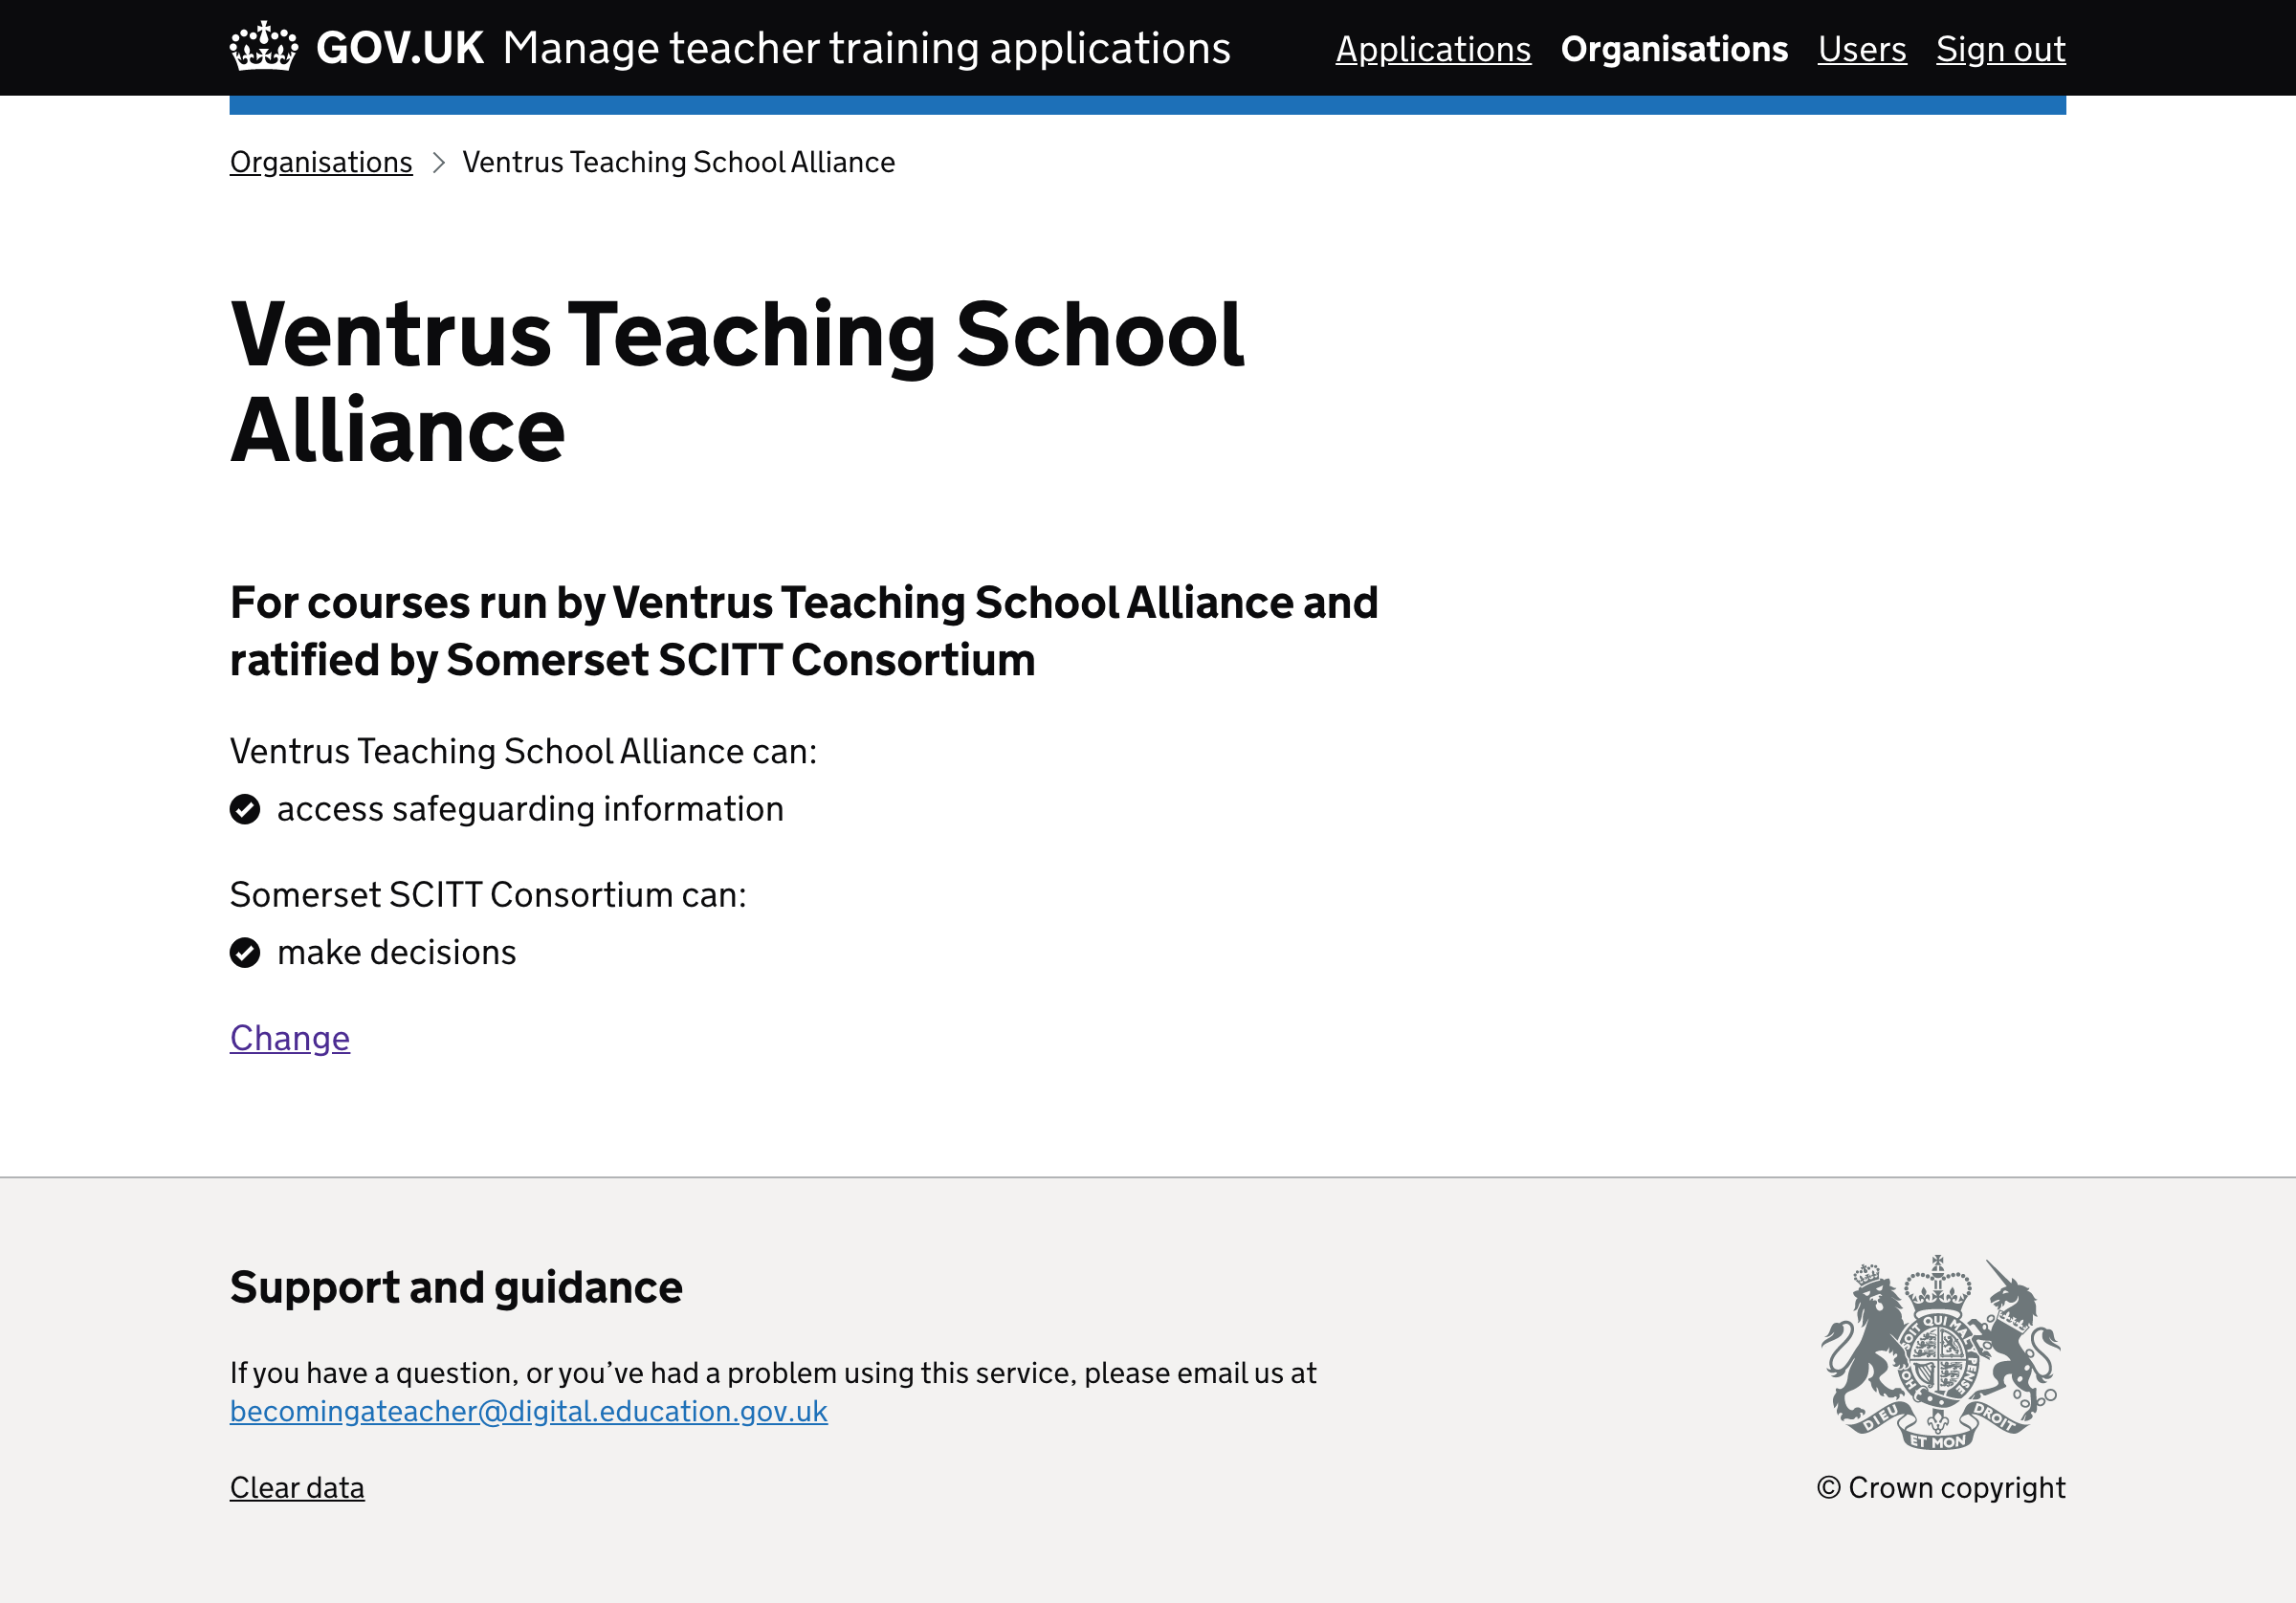
Use tick icons for bullets on organisation details page
In the previous iteration, we used a bulleted list for each permission. But on all other pages we used tick icons for permissions—an oversight more than anything.
If we use tick icons for permissions
Then users will recognise the items as permissions more easily
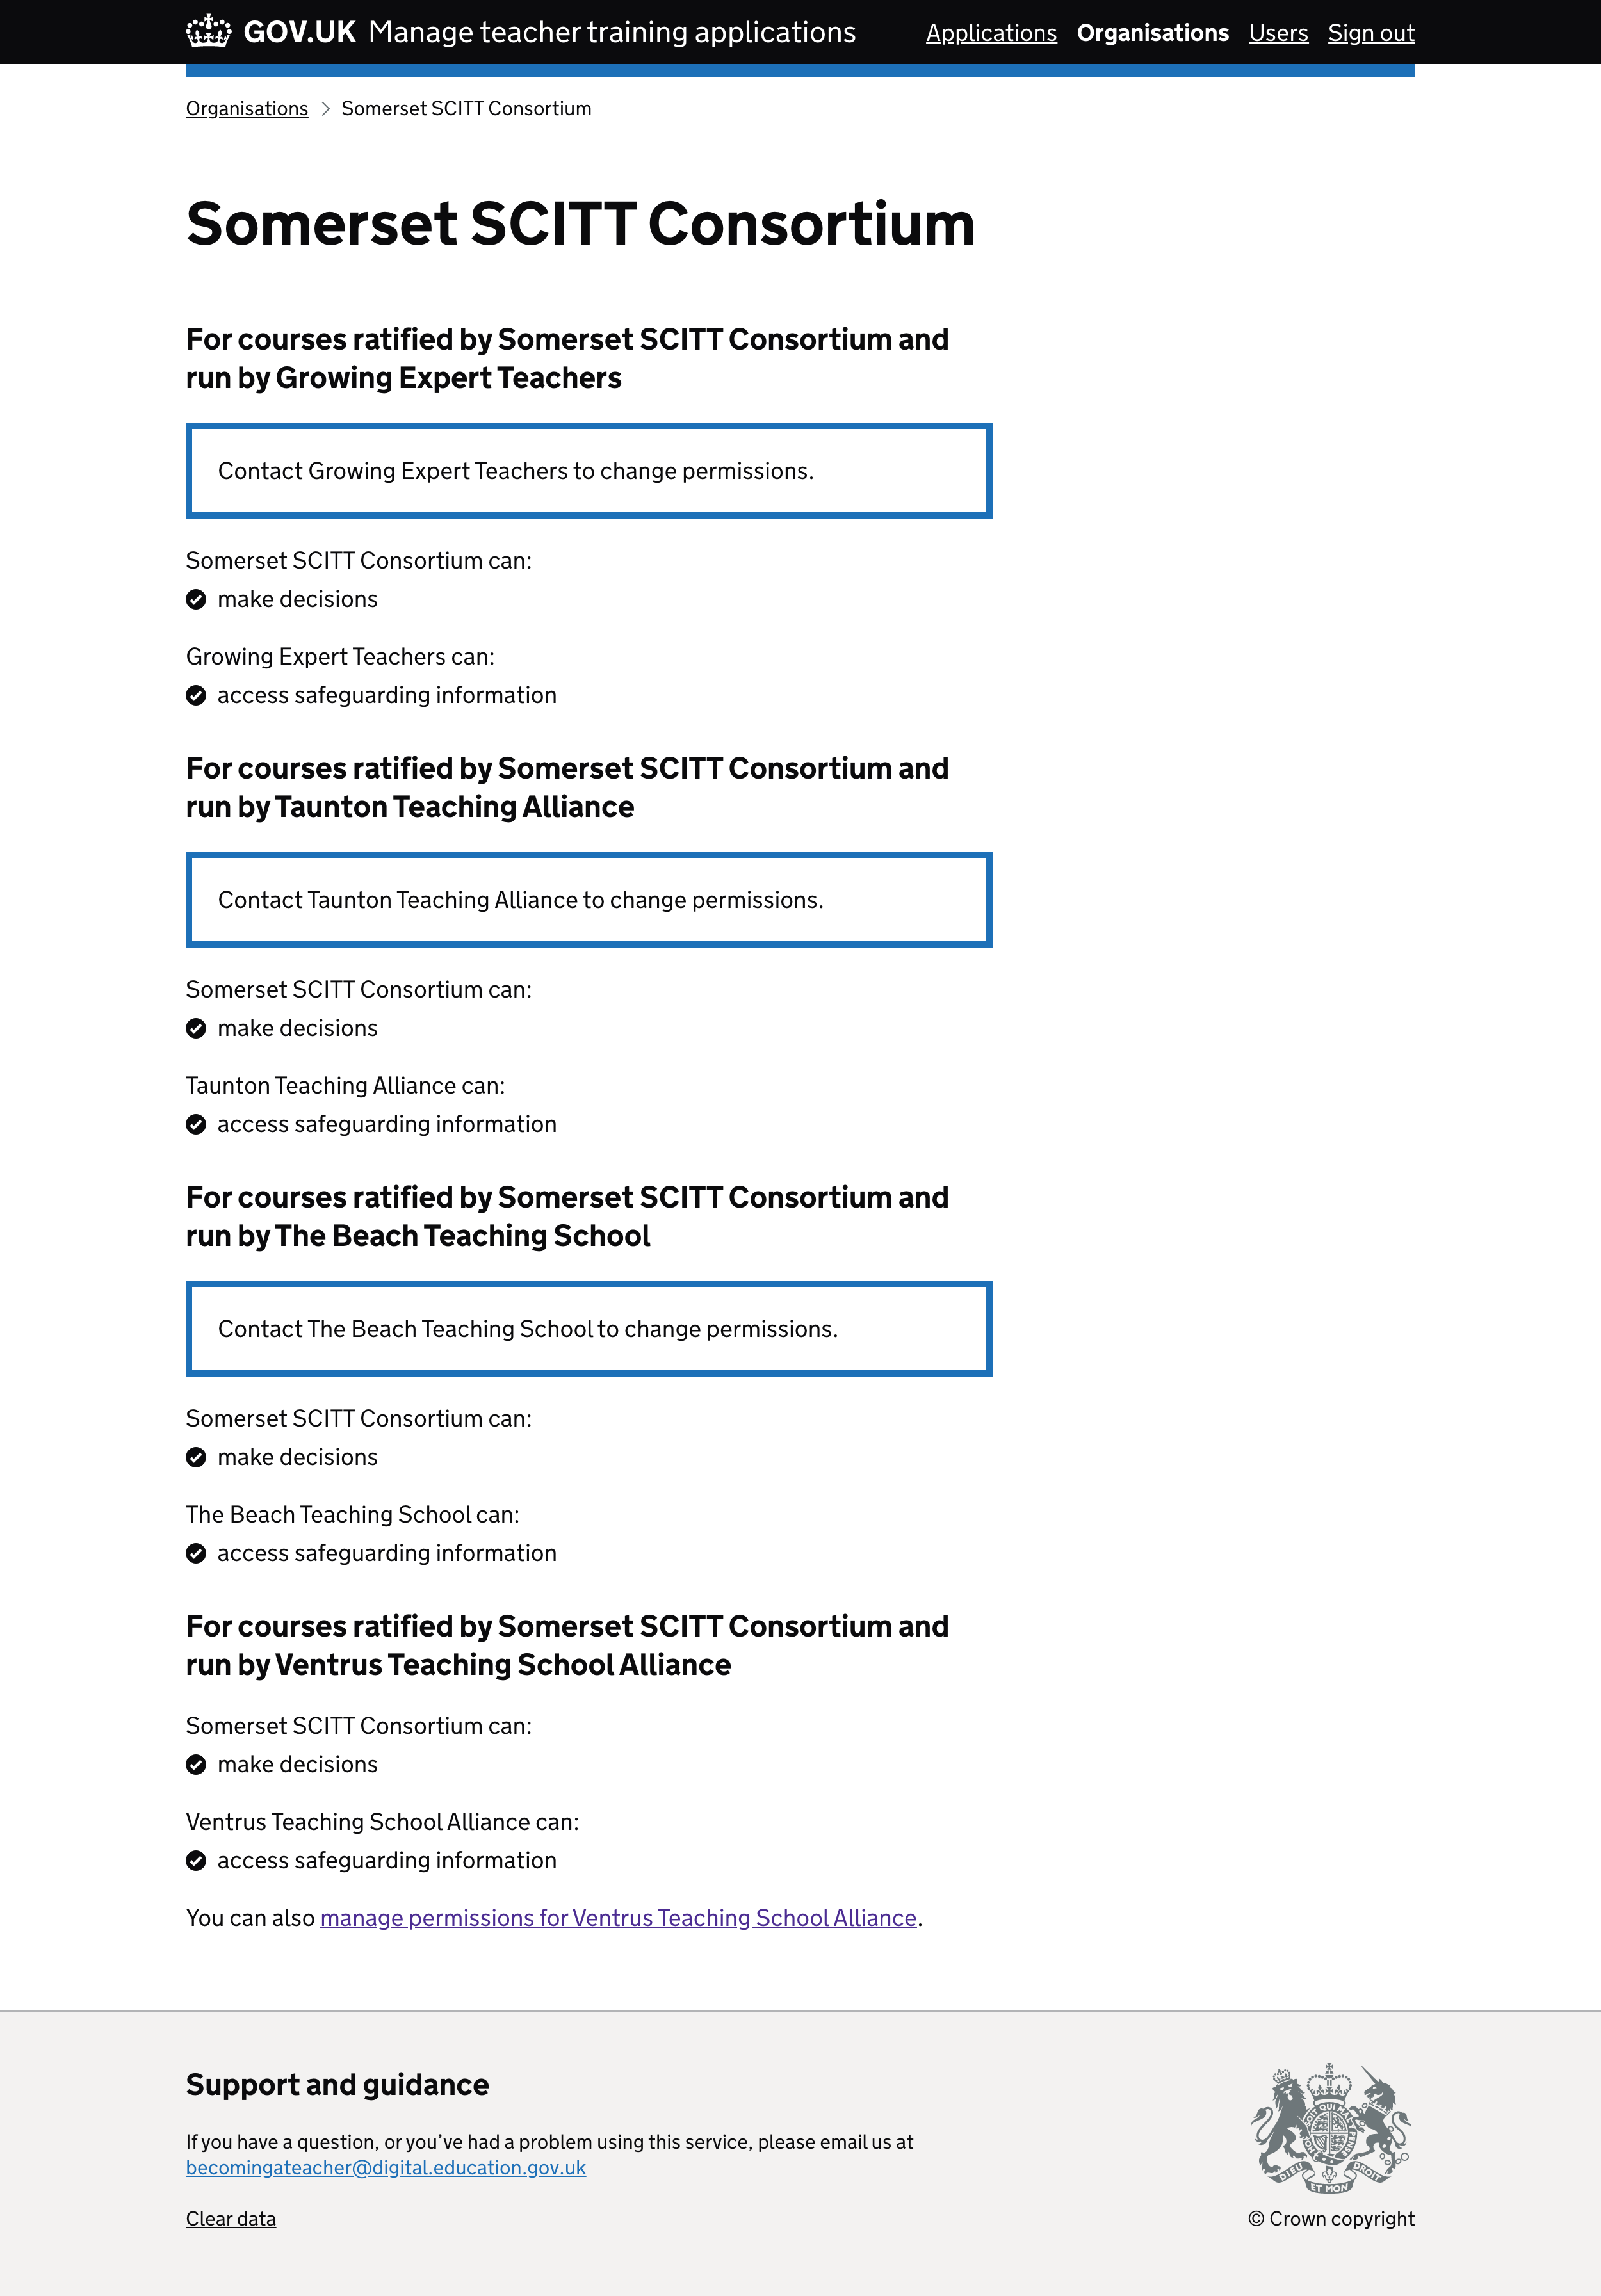
Use the blue box to explain how to change permissions as an accredited body
In the previous iteration, we used the warning text component to explain to users who work for an accredited body that they need to contact the training provider to make changes.
But this got a bit lost amongst the rest of the content and was inconsistent to the blue box that’s used when setting up organisational permissions.
If we use the blue box for this content
Then users will find it easier to read
Differences when the user belongs to just one organisation
The design should be slightly different when the user belongs to one organisation as opposed to multiple.
When inviting a user:
- remove the ‘select organisations…’ page from the flow
- change the content on the ‘Select permissions…’ page to read just ‘Select permissions’
- remove the ‘Organisations this user has access to…’ line on the check answers page
When editing a user:
- remove the ‘Organisations this user has access to…’ line on the details page
- change the ‘change permissions’ page to read just ‘Change permissions’
Screenshots#
- Data sharing agreement
- Data sharing confirmation page
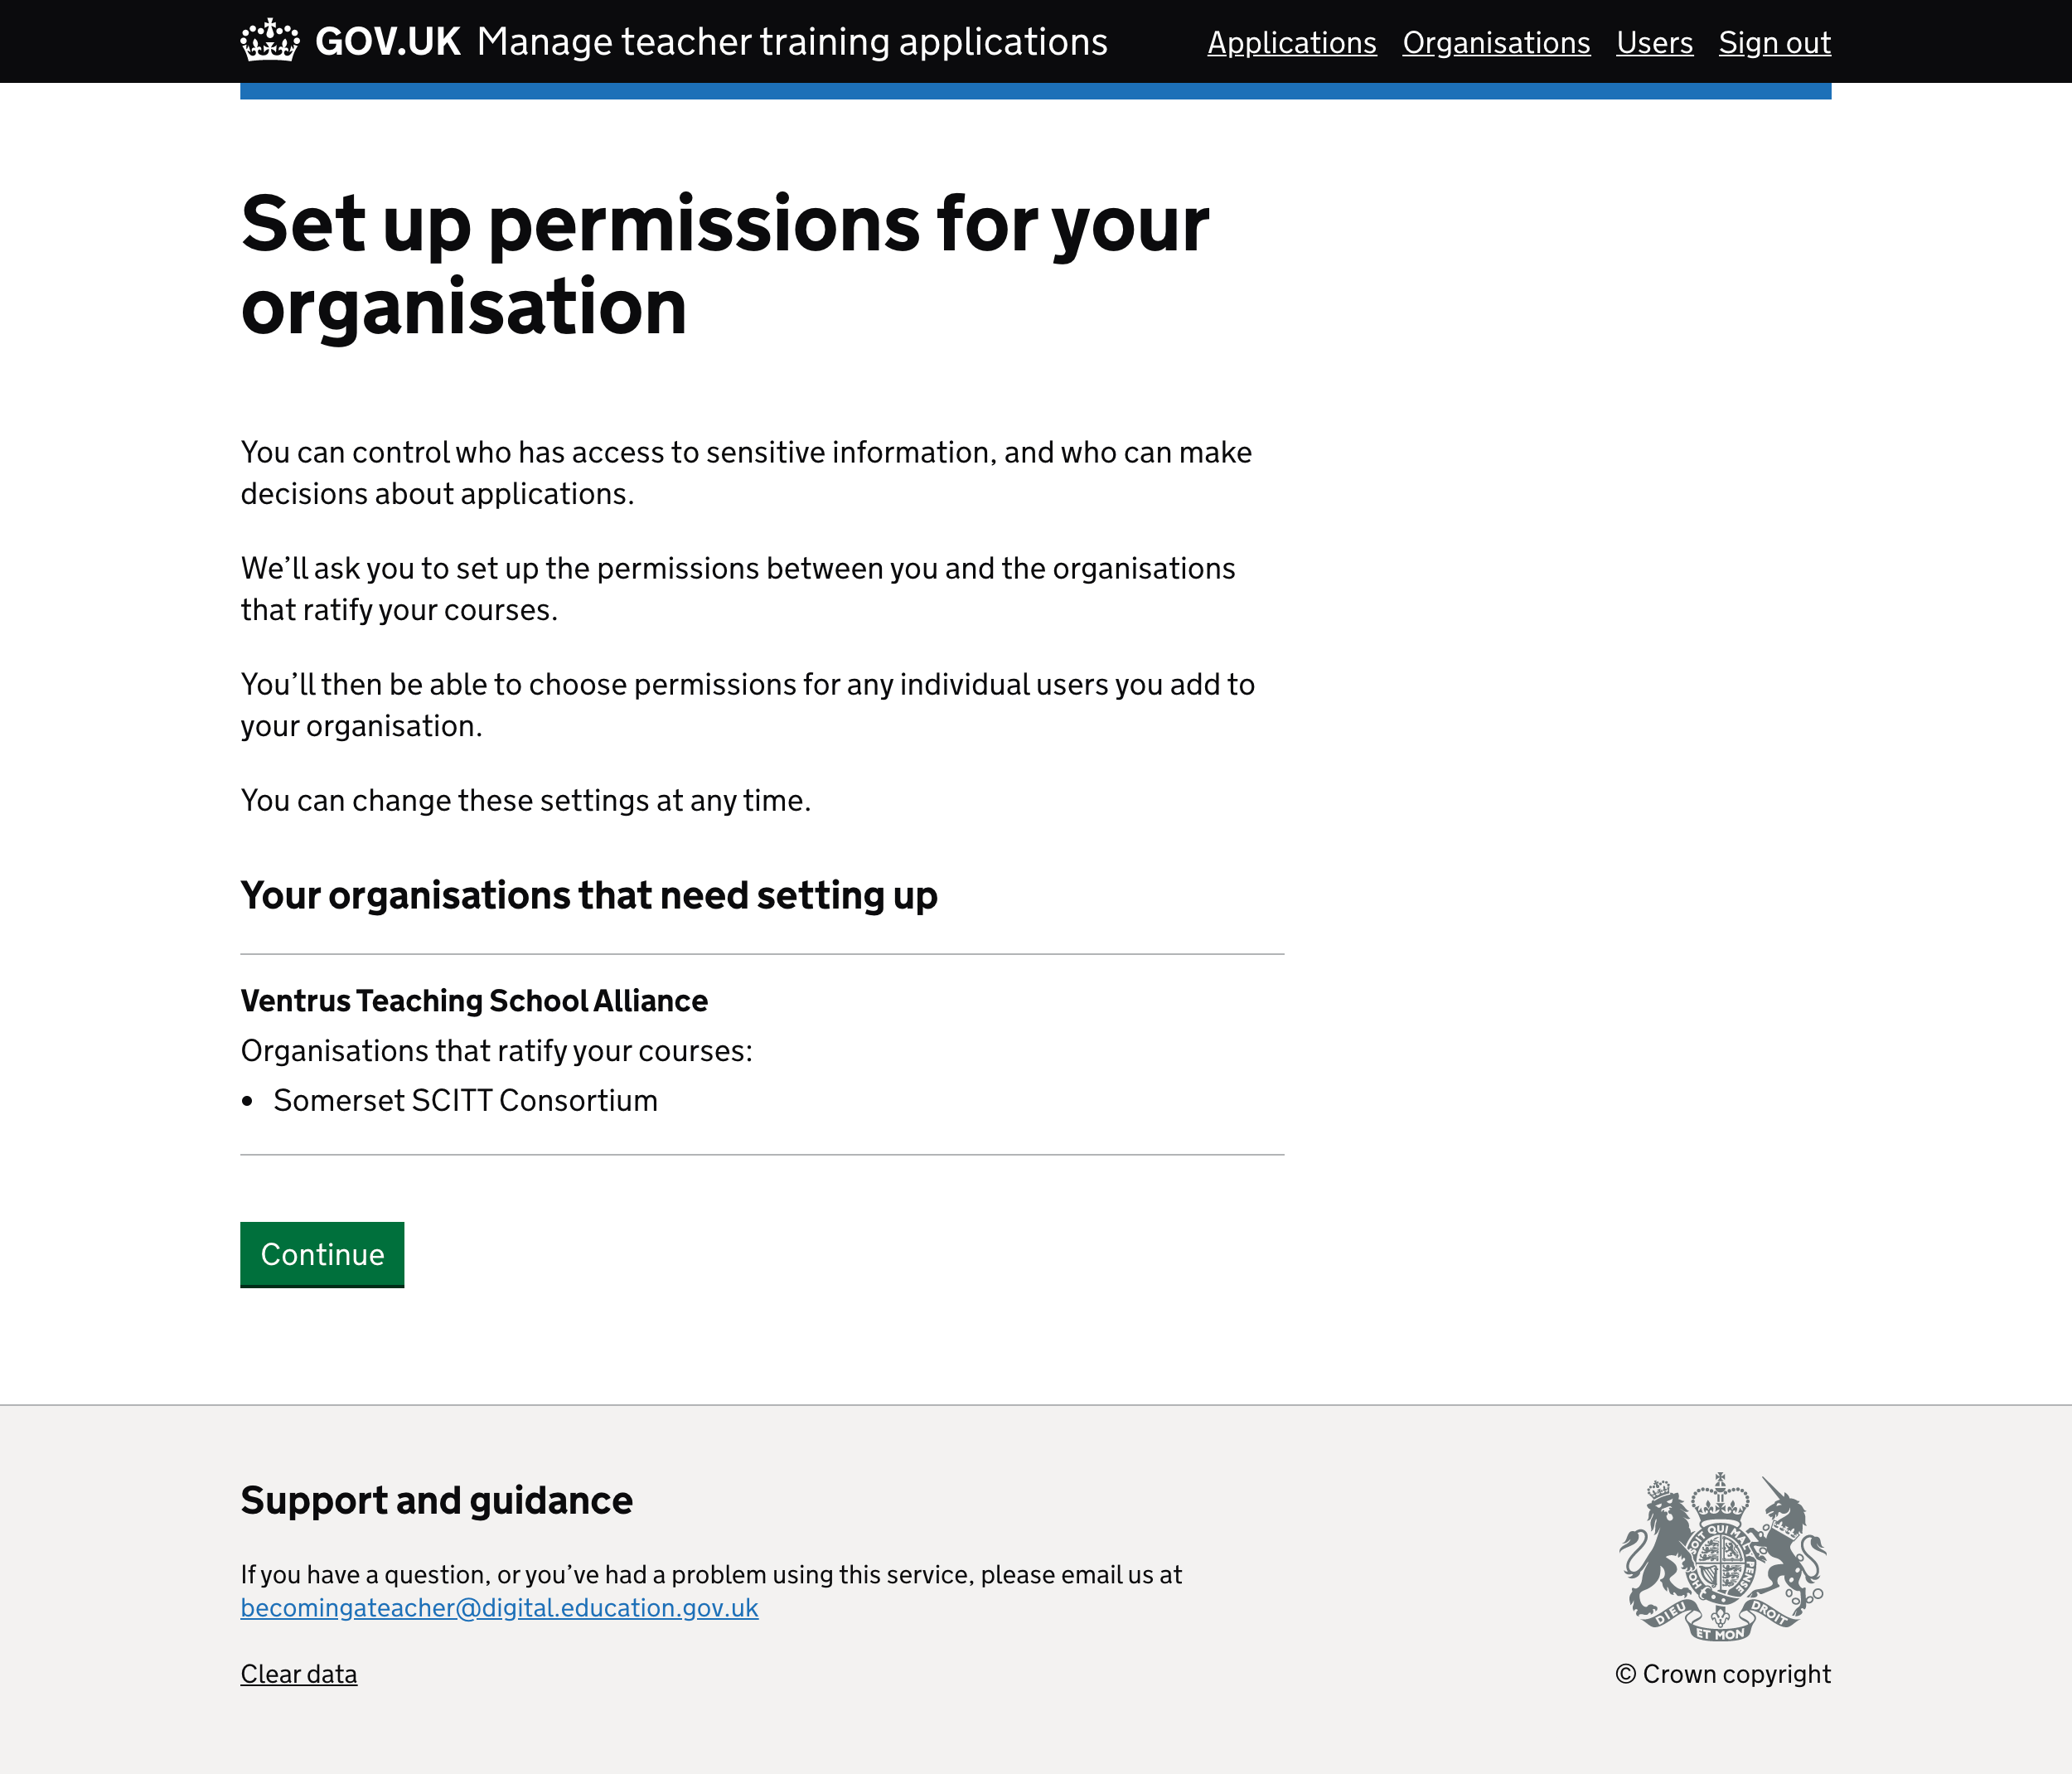
- Organisation set up welcome page
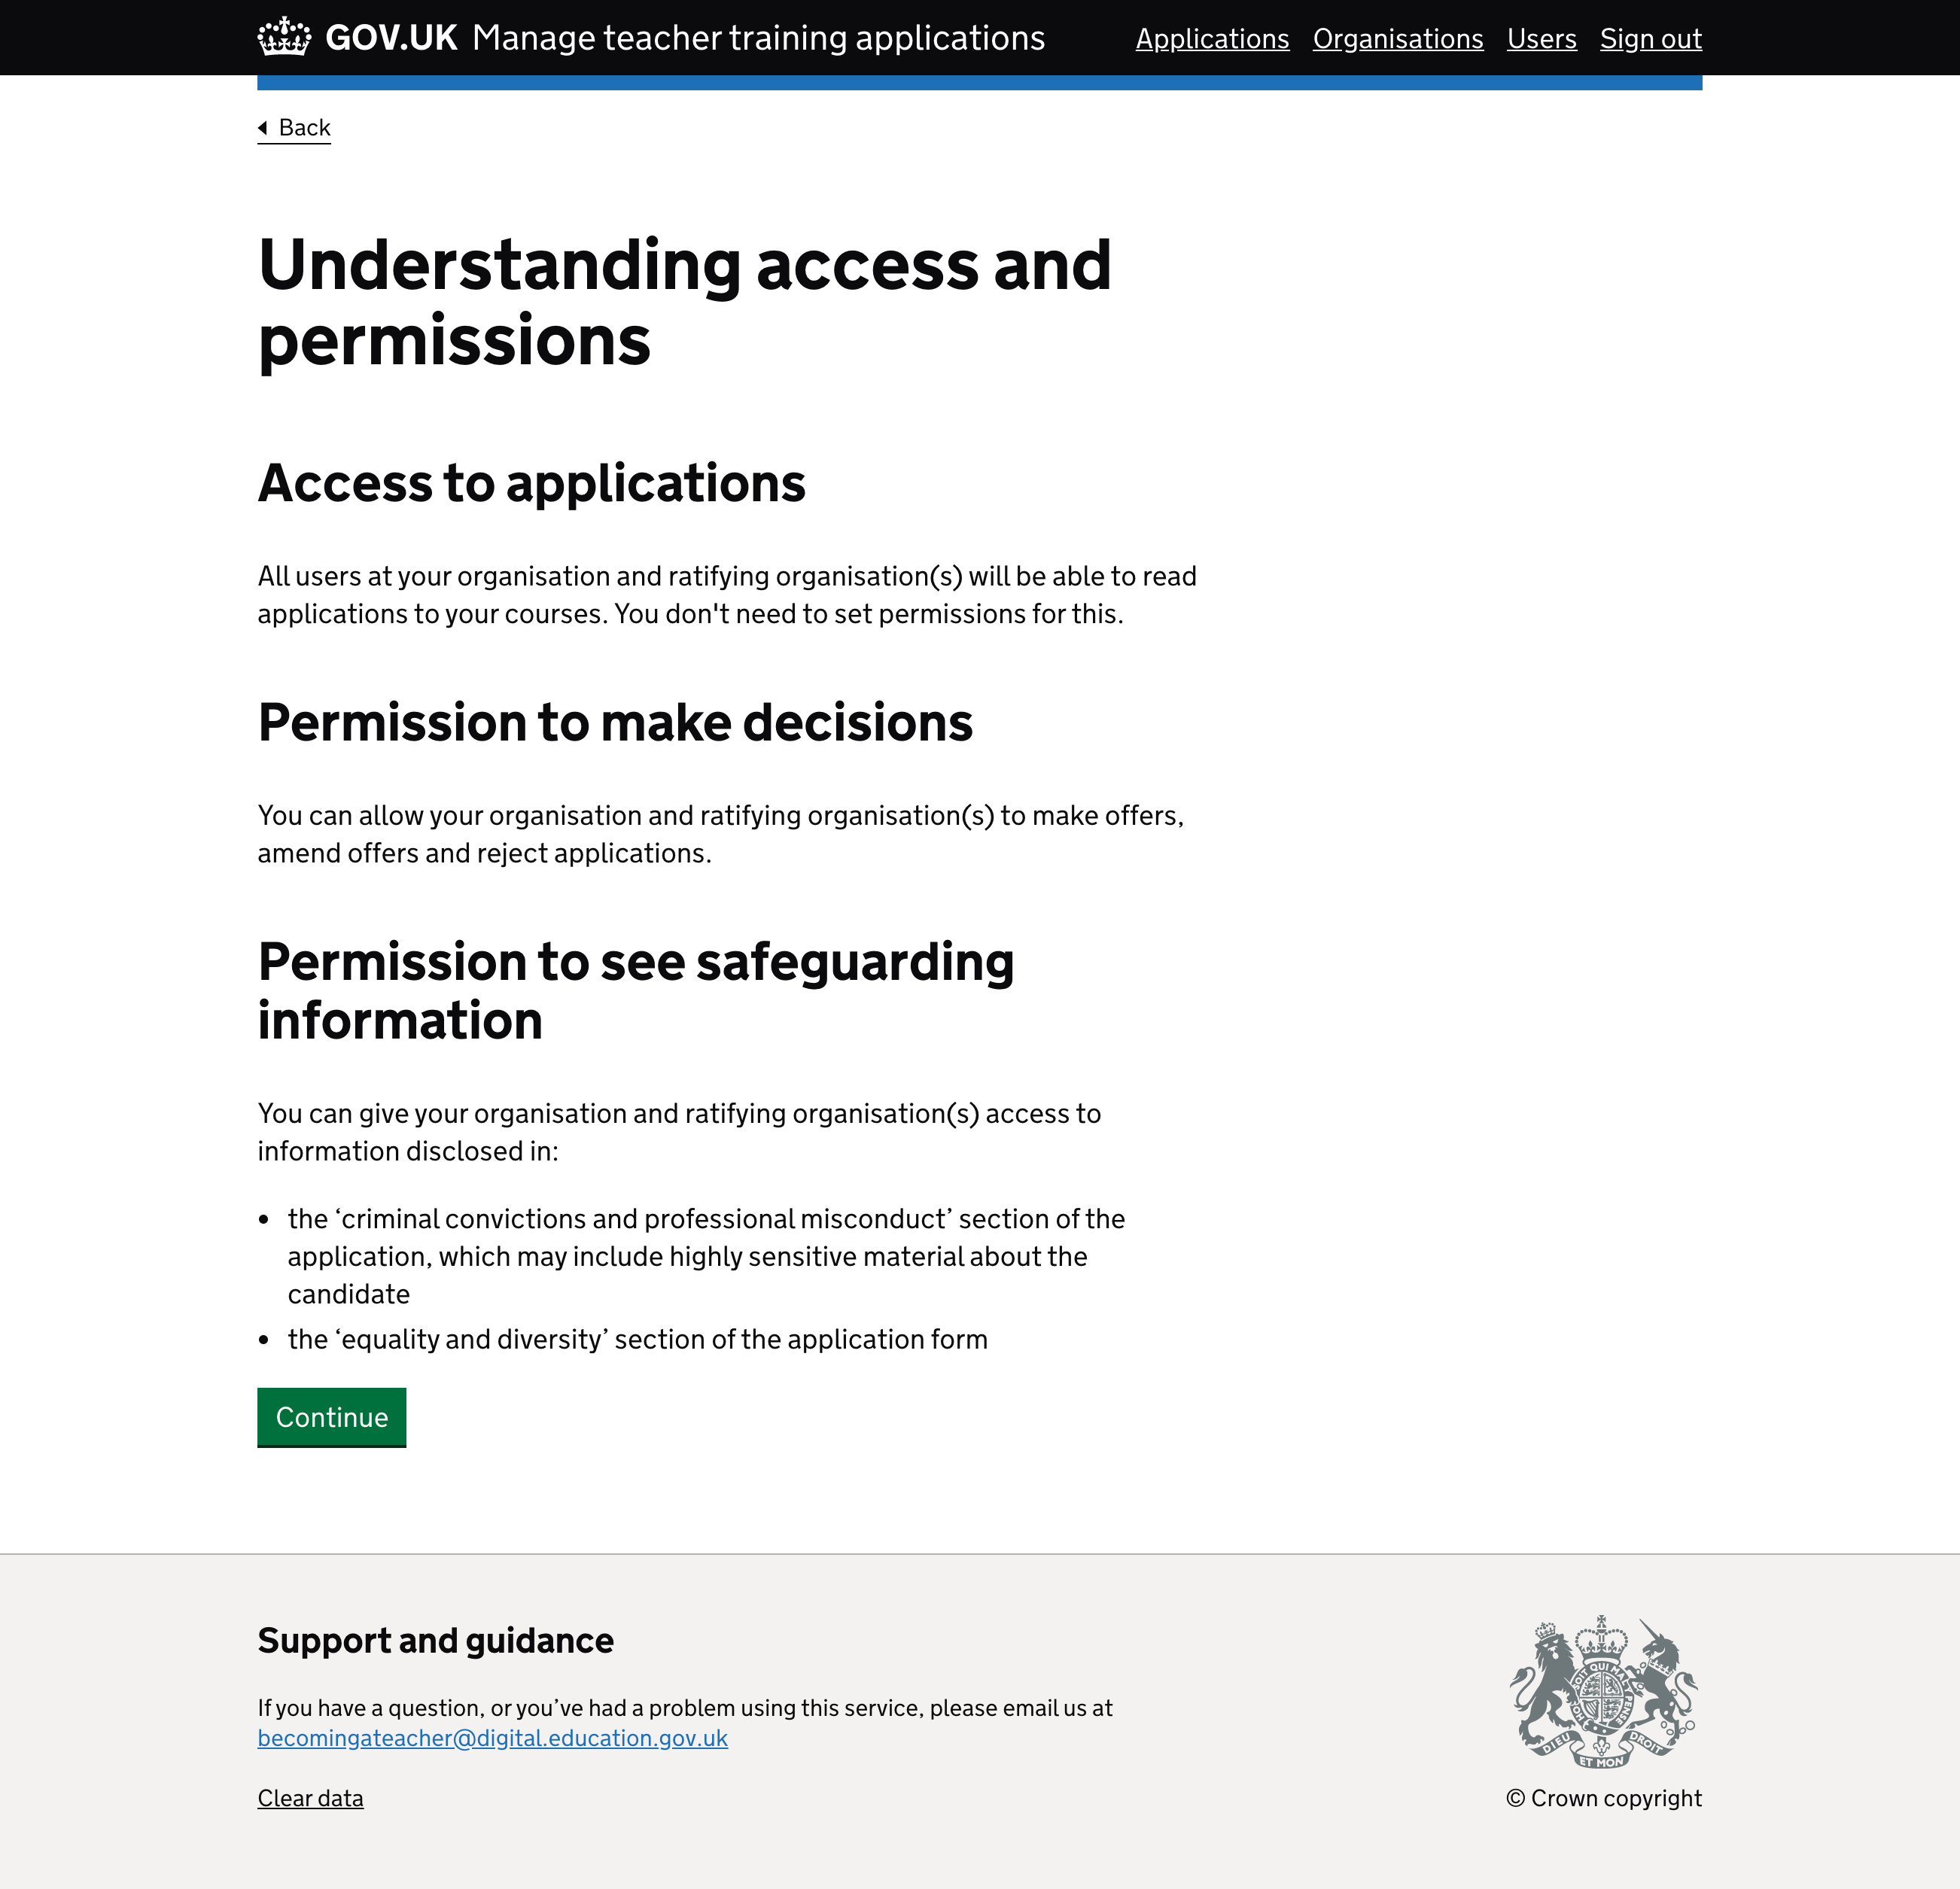
- Organisation set up information page
- Organisation set up permissions form
- Organisation set up check answers page
- Organisation set up confirmation page
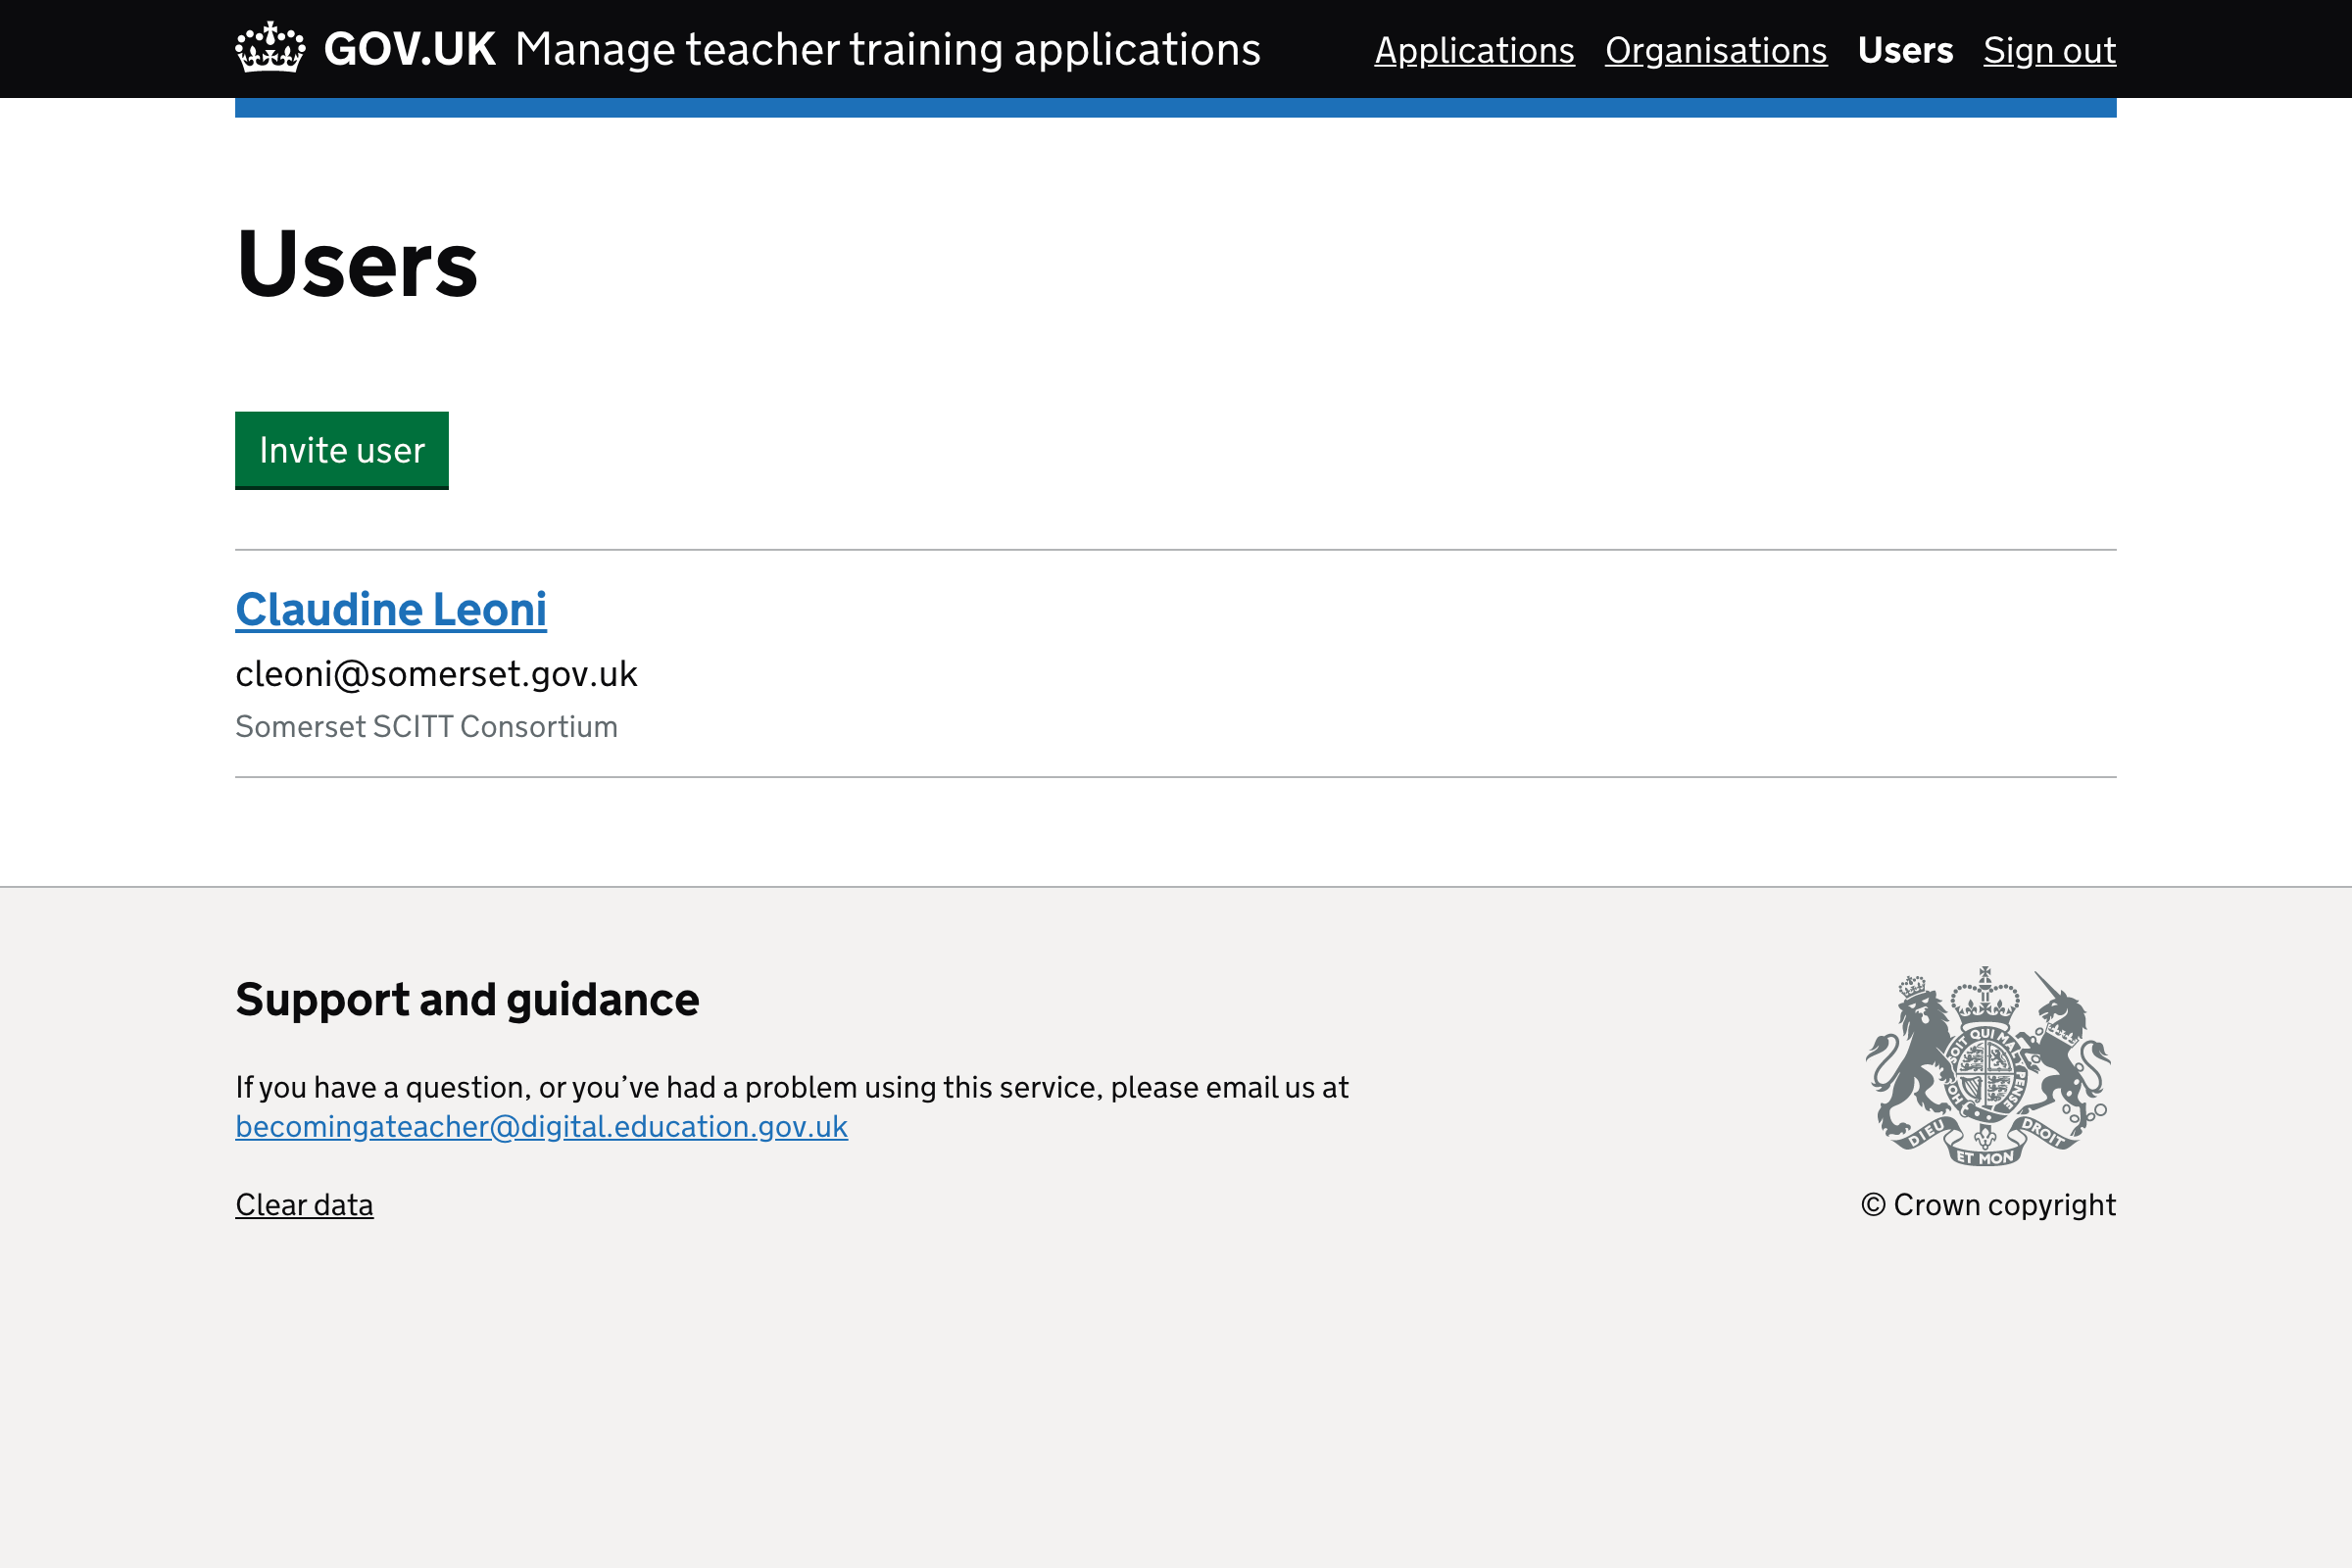
- User list page
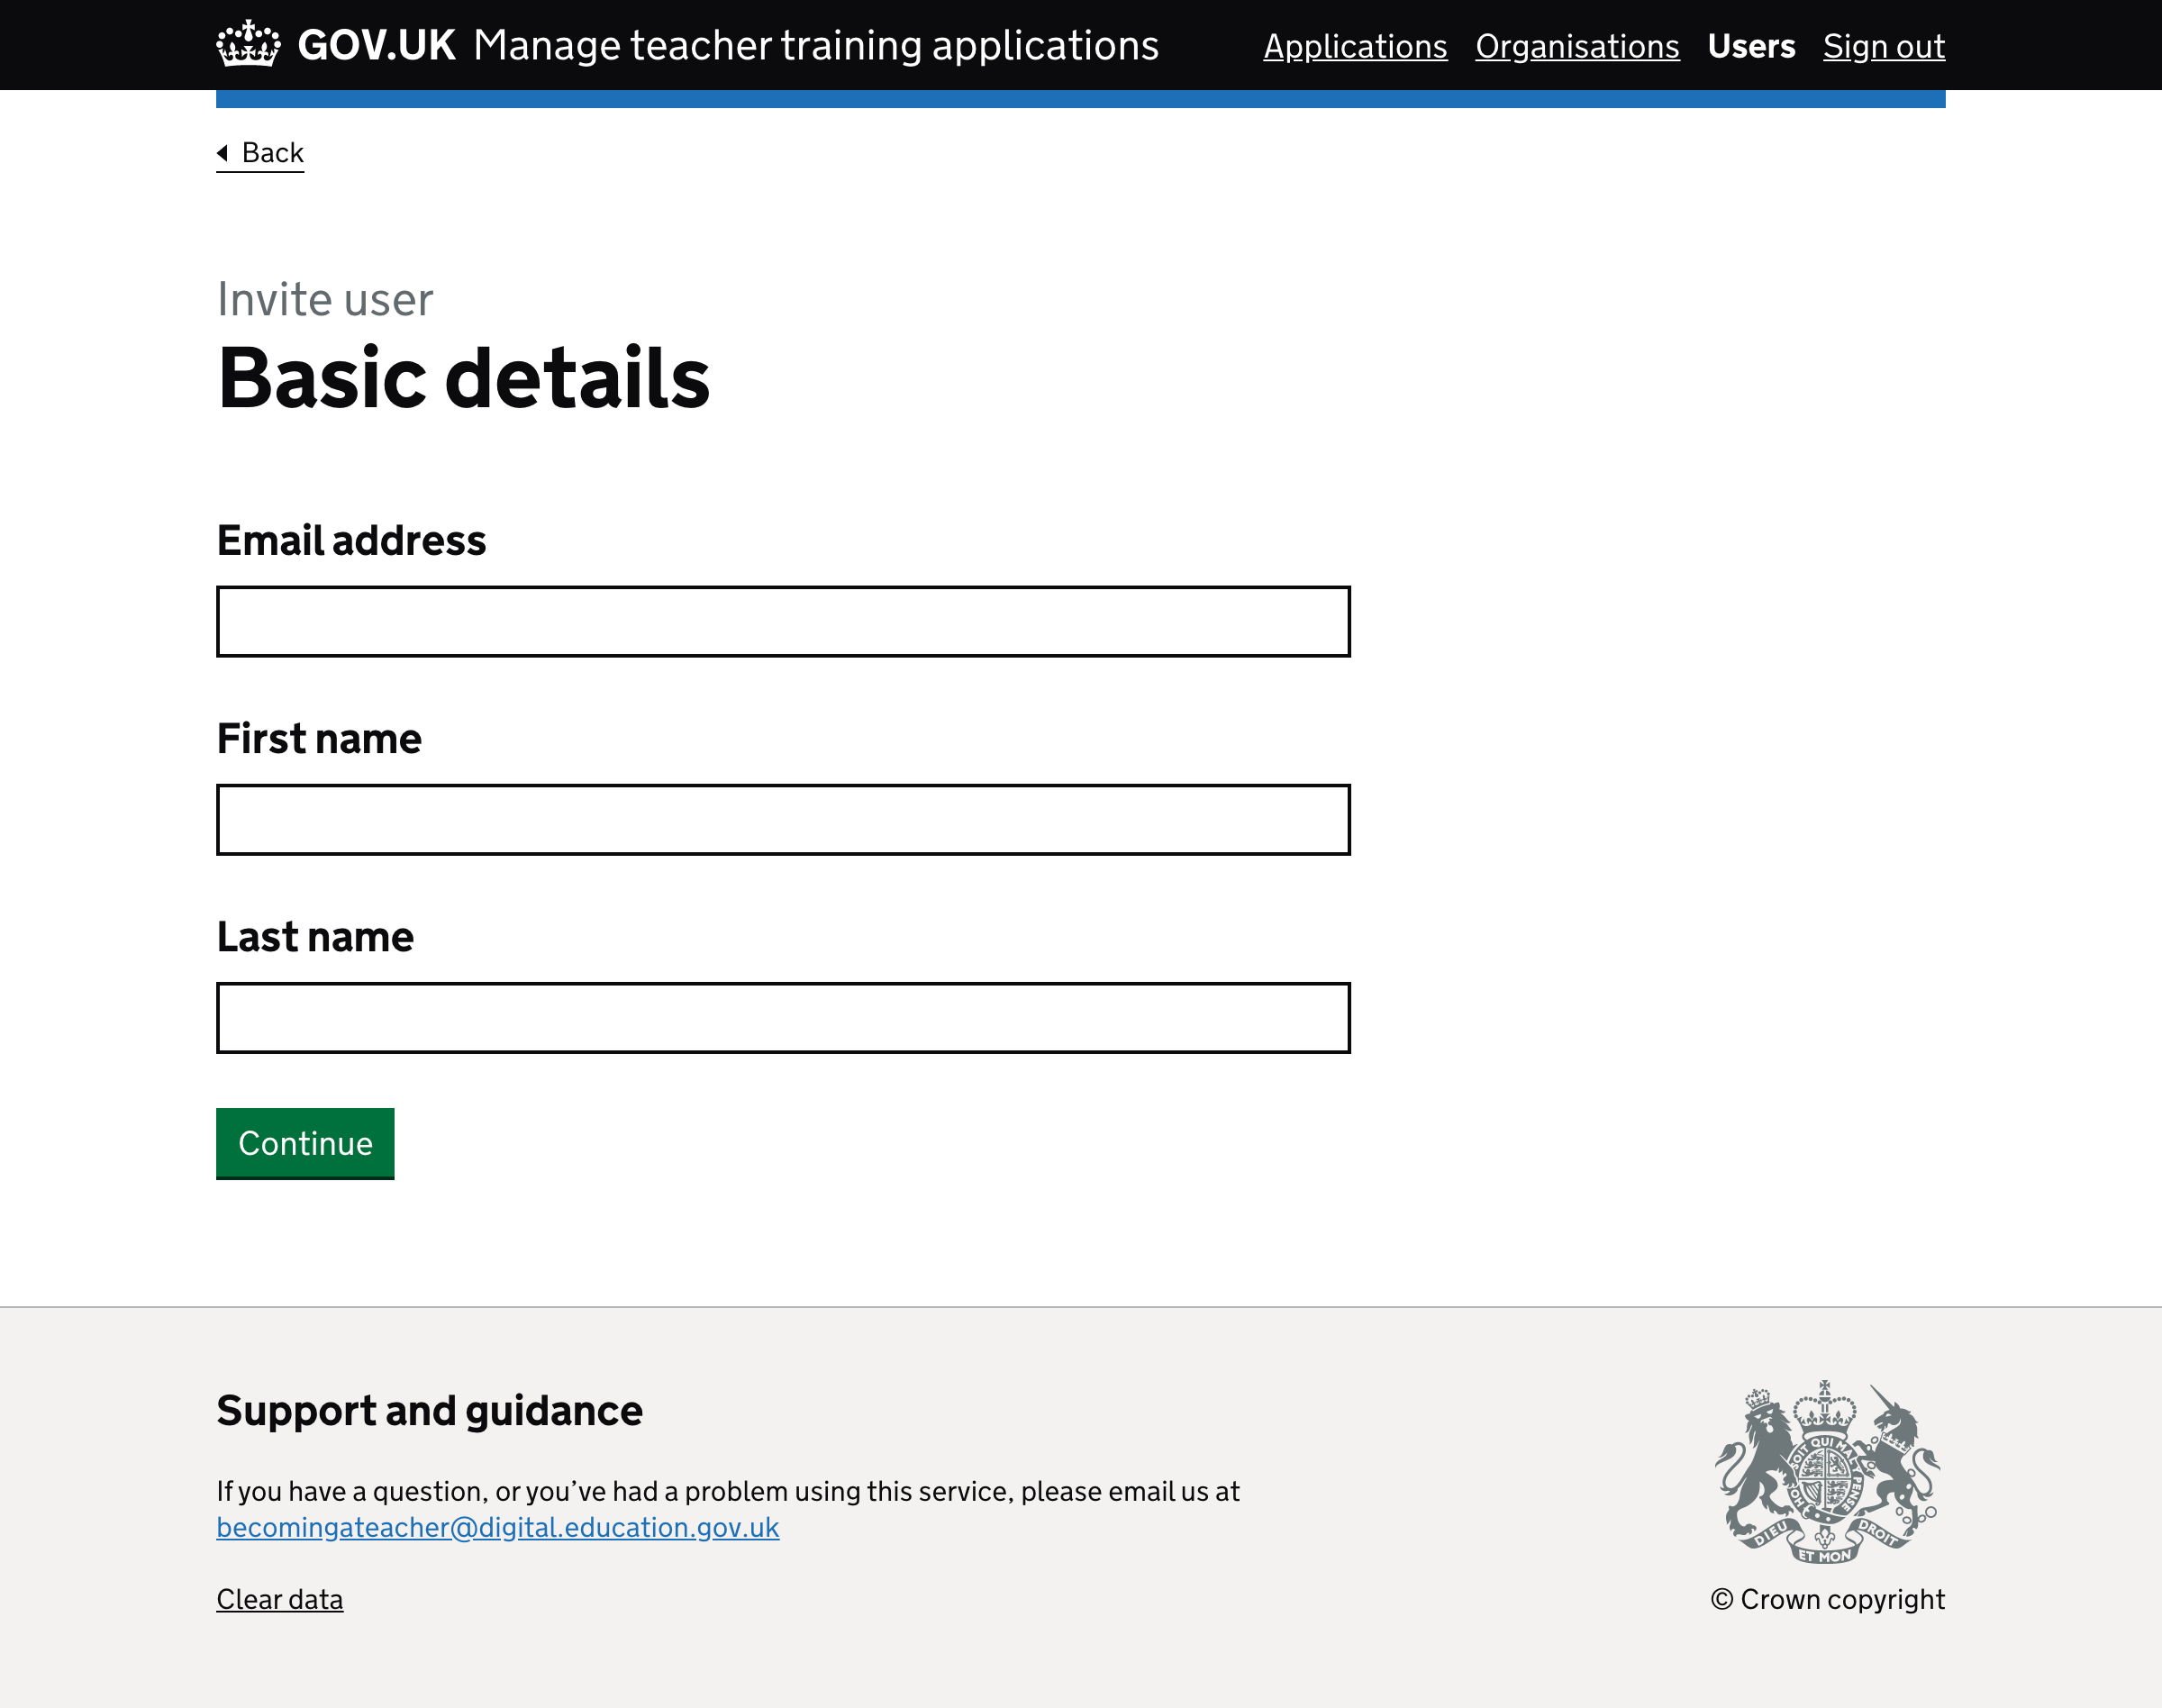
- Invite user: basic details
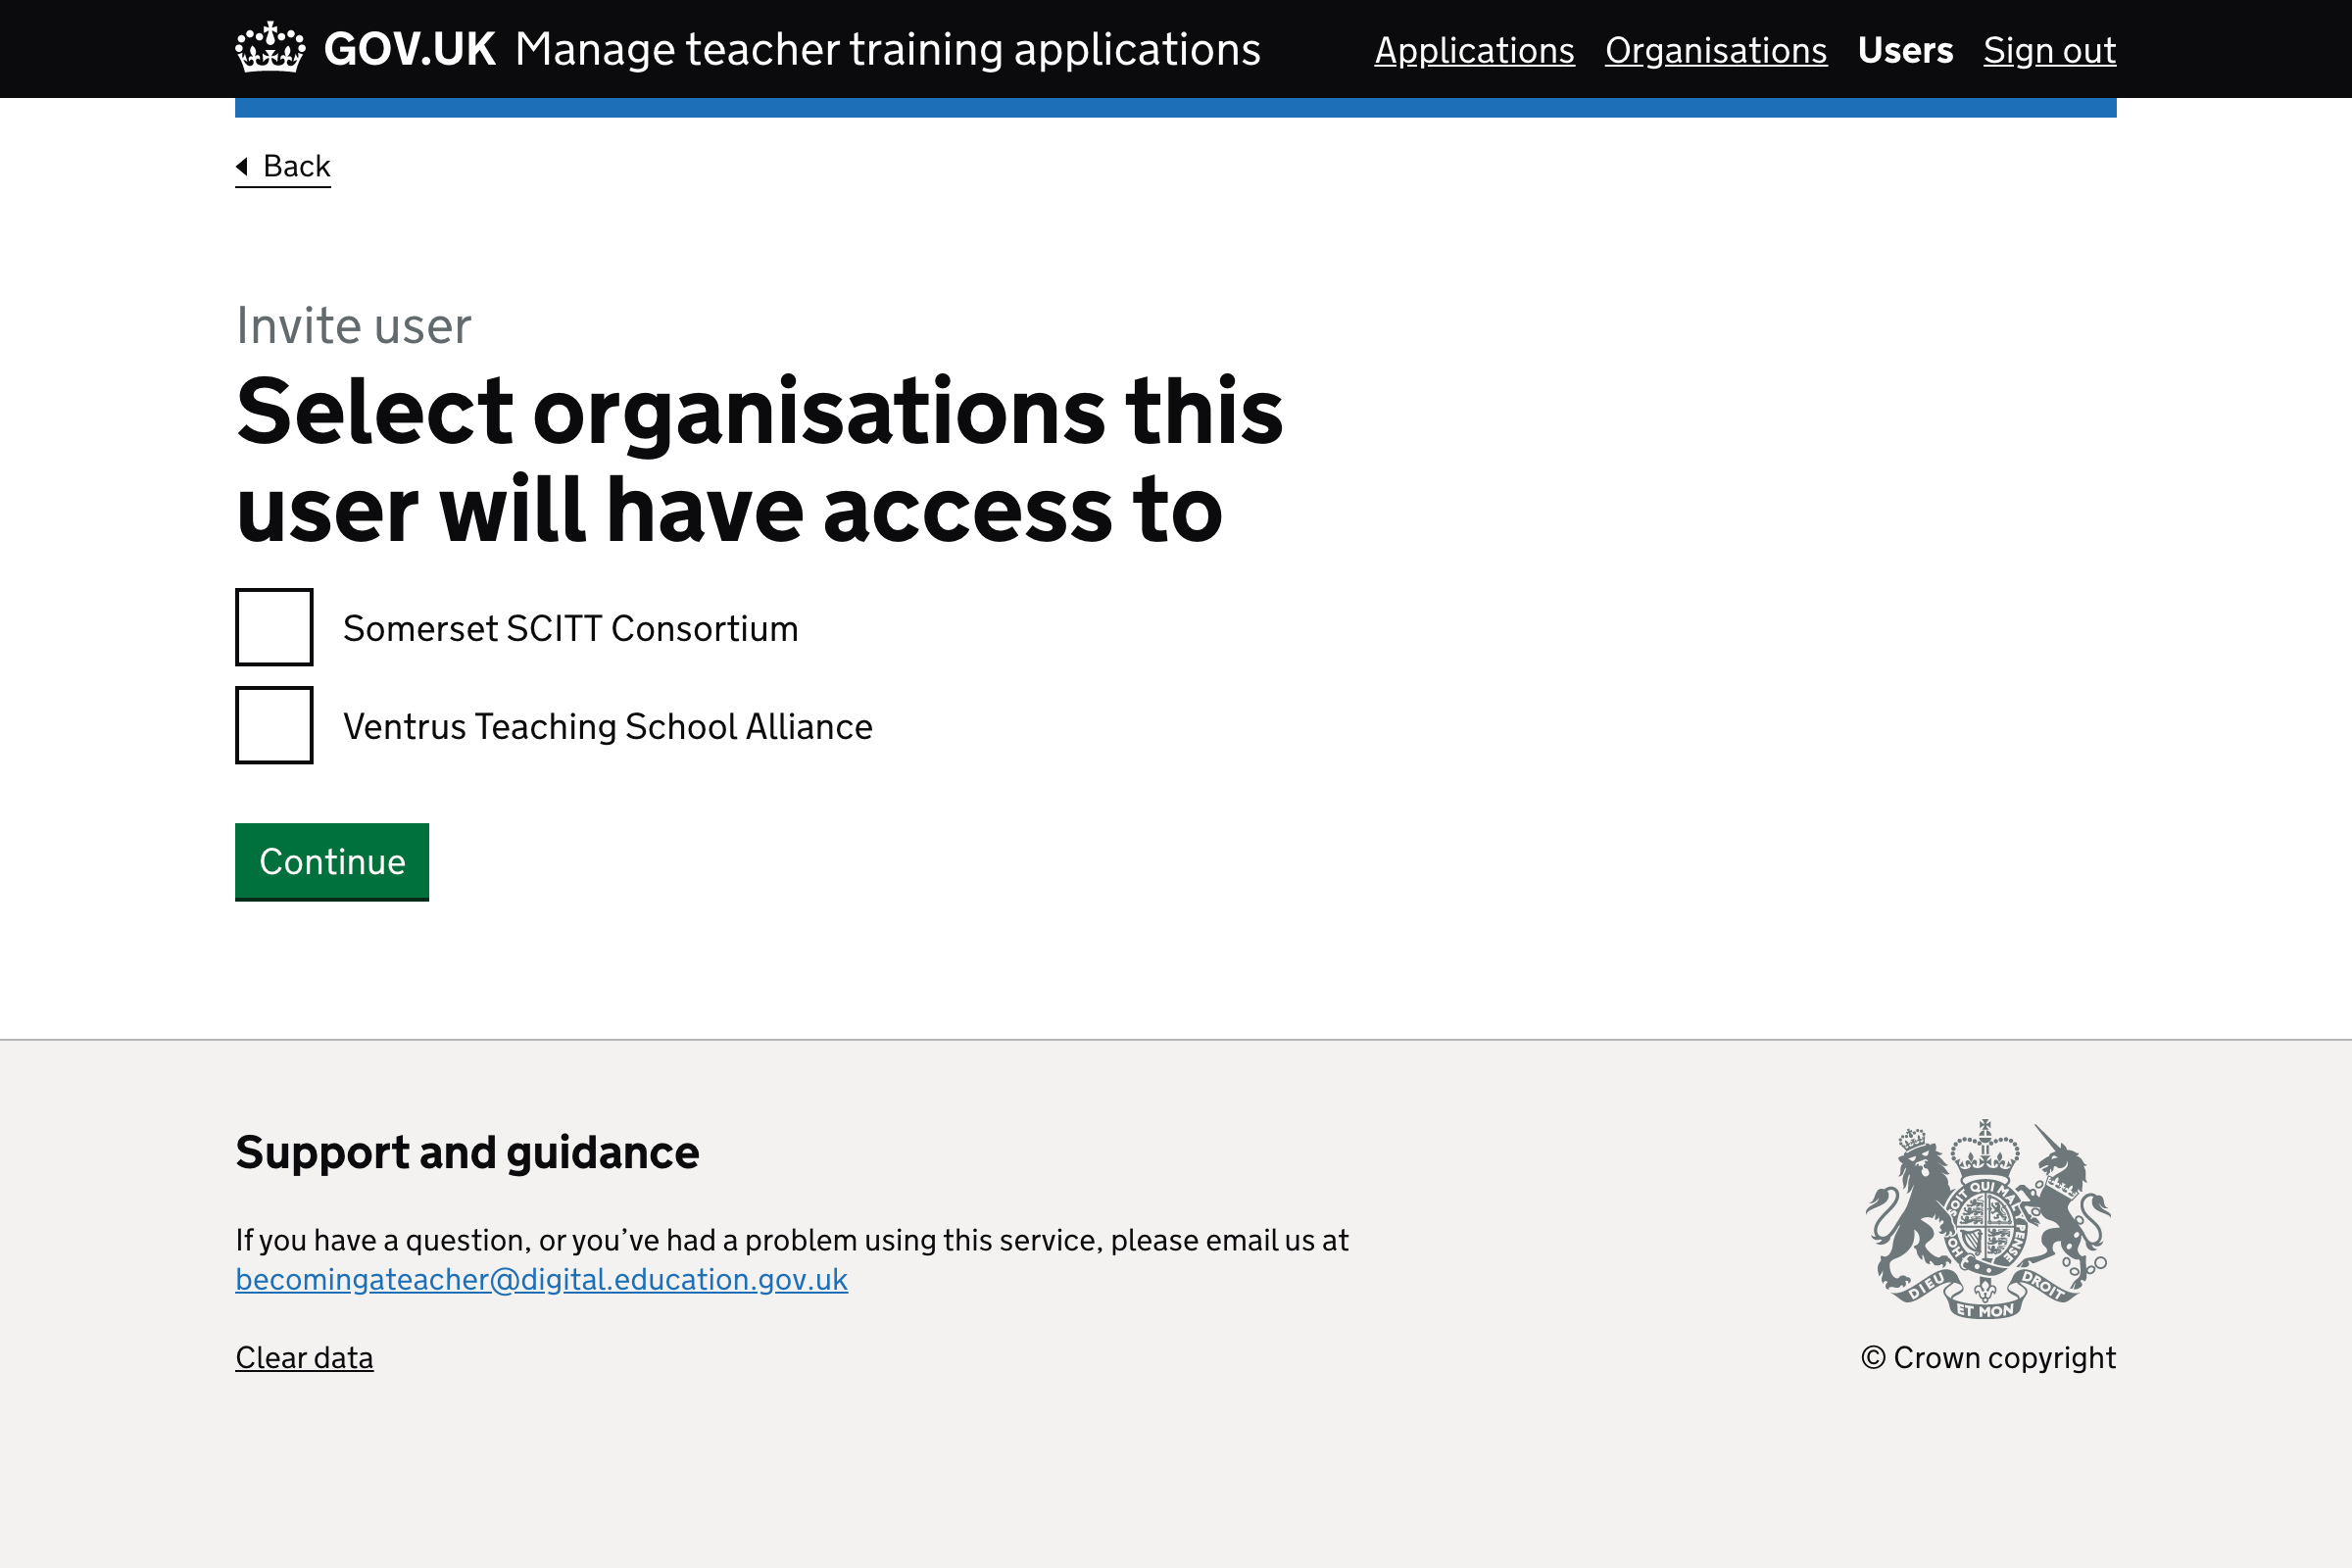
- Invite user: organisation page
- Invite user: permissions page 1
- Invite user: permissions page 2
- Invite user: check answers page
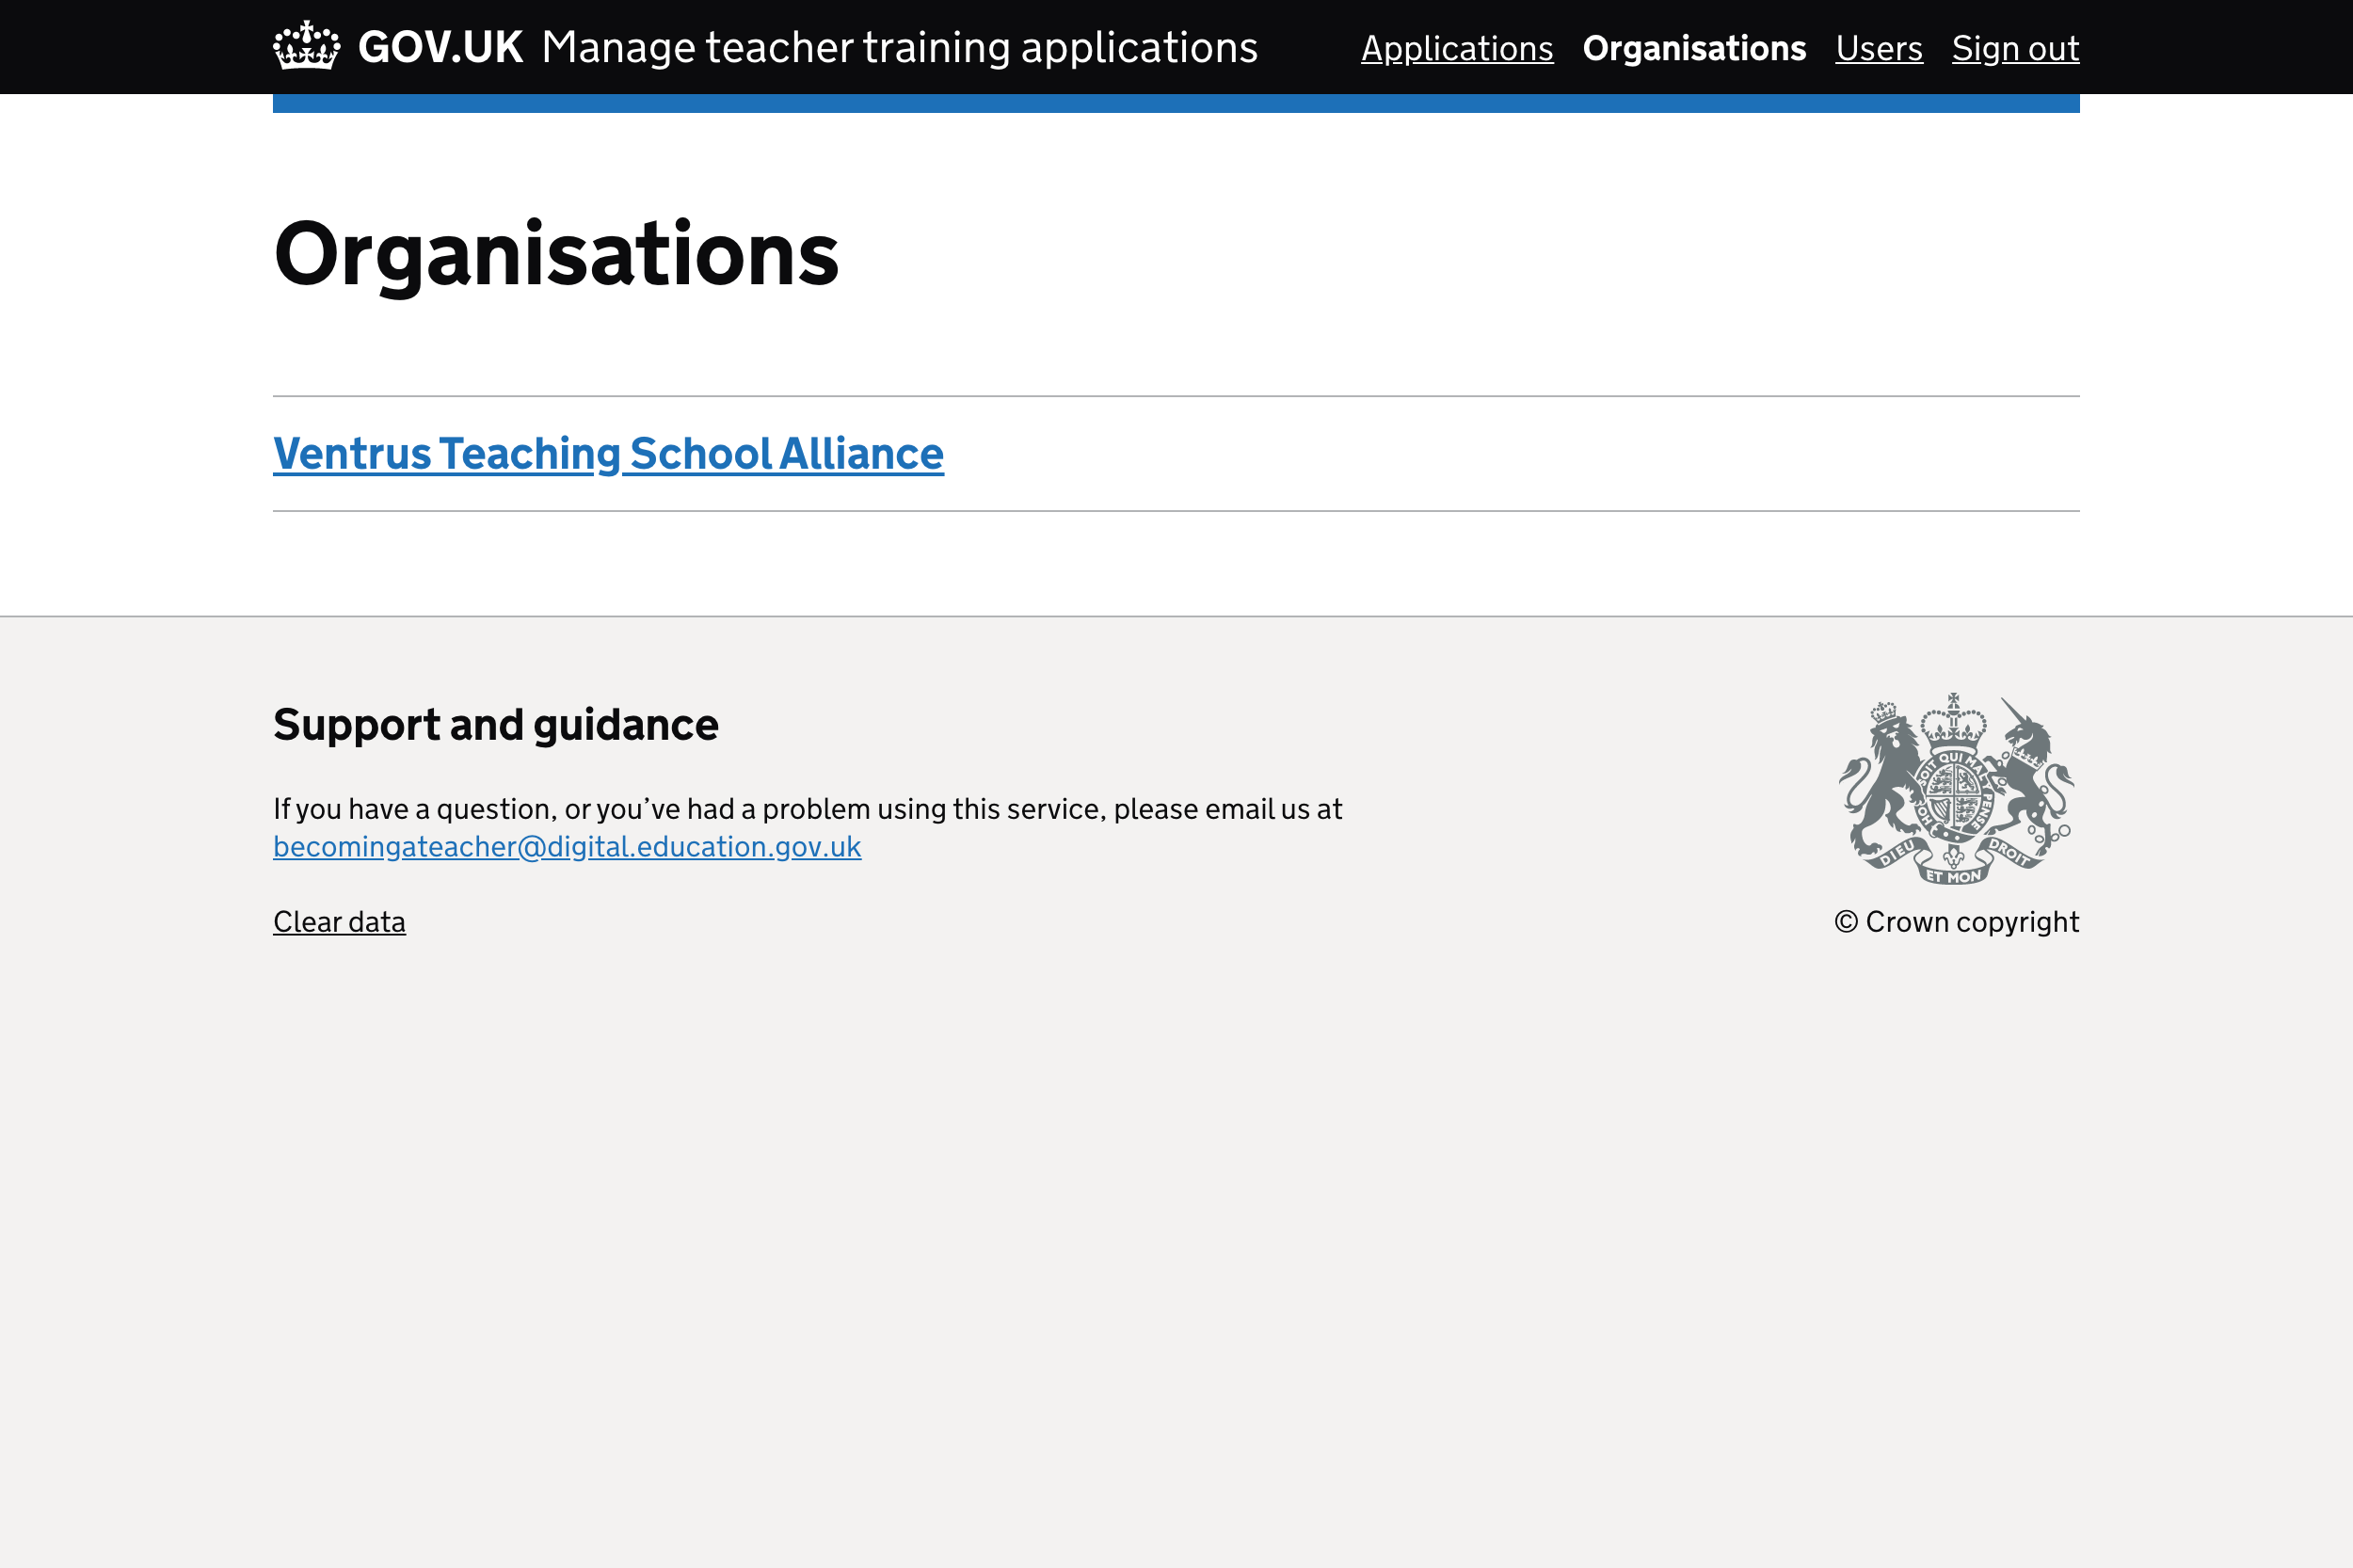
- Organisation list page
- Organisation details example 1
- Organisation details example 2
Data sharing agreement#

Data sharing confirmation page#
Organisation set up welcome page#
Organisation set up information page#
Organisation set up permissions form#
Organisation set up check answers page#
Organisation set up confirmation page#
User list page#
Invite user: basic details#
Invite user: organisation page#
Invite user: permissions page 1#
Invite user: permissions page 2#
Invite user: check answers page#

Organisation list page#
Organisation details example 1#
Organisation details example 2#