Put ‘Organisations’ and ‘Users’ in the account area
Previously ‘Organisations’ and ‘Users’ were account navigation items as they’re secondary features.
But they relate to the user’s account with notification settings and profile.
If we put ‘Organisations’ and ‘Users’ in the account area
Then they’ll be where users expect to find them and they won’t detract from the application-related features
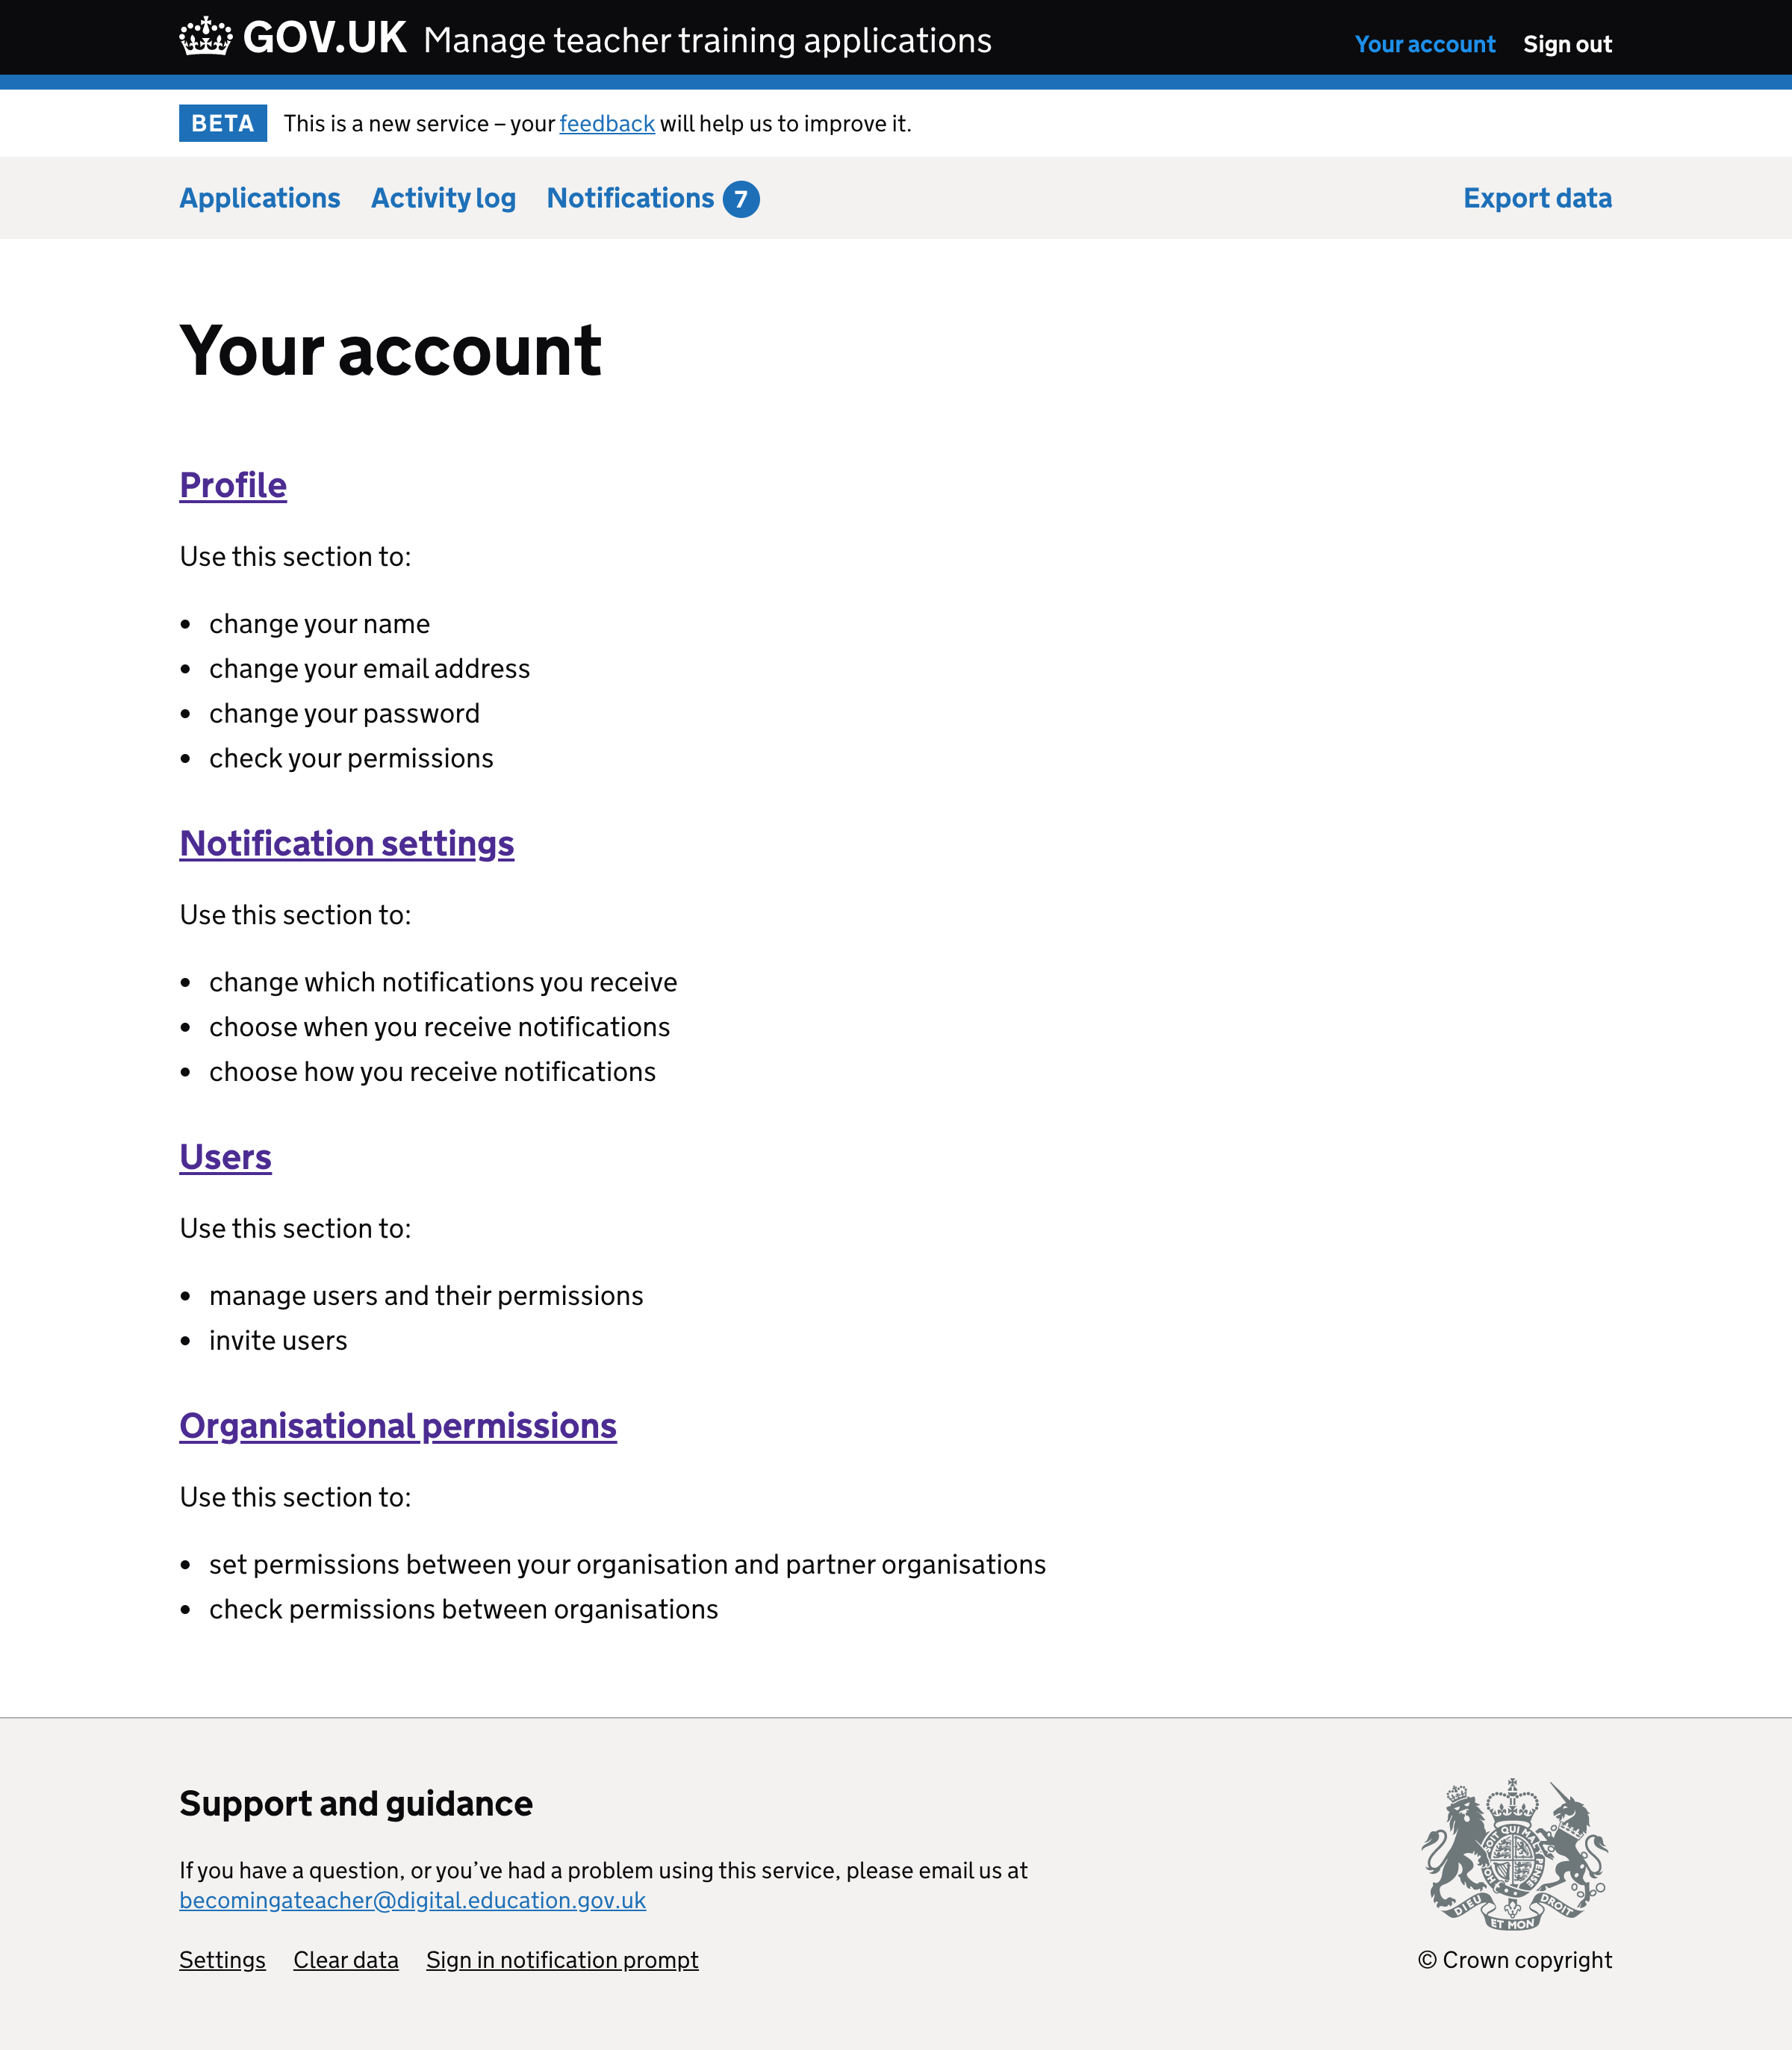
Introduce an account landing page
Previously clicking ‘Account’ took the user to their profile with ‘Notification settings’ as a sub navigation item.
Now ‘Organisations’ and ‘Users’ are part of the account area it would be better if clicking ‘Account’ took users to a landing page with a matching page title.
This also lets us tell users what each section offers.
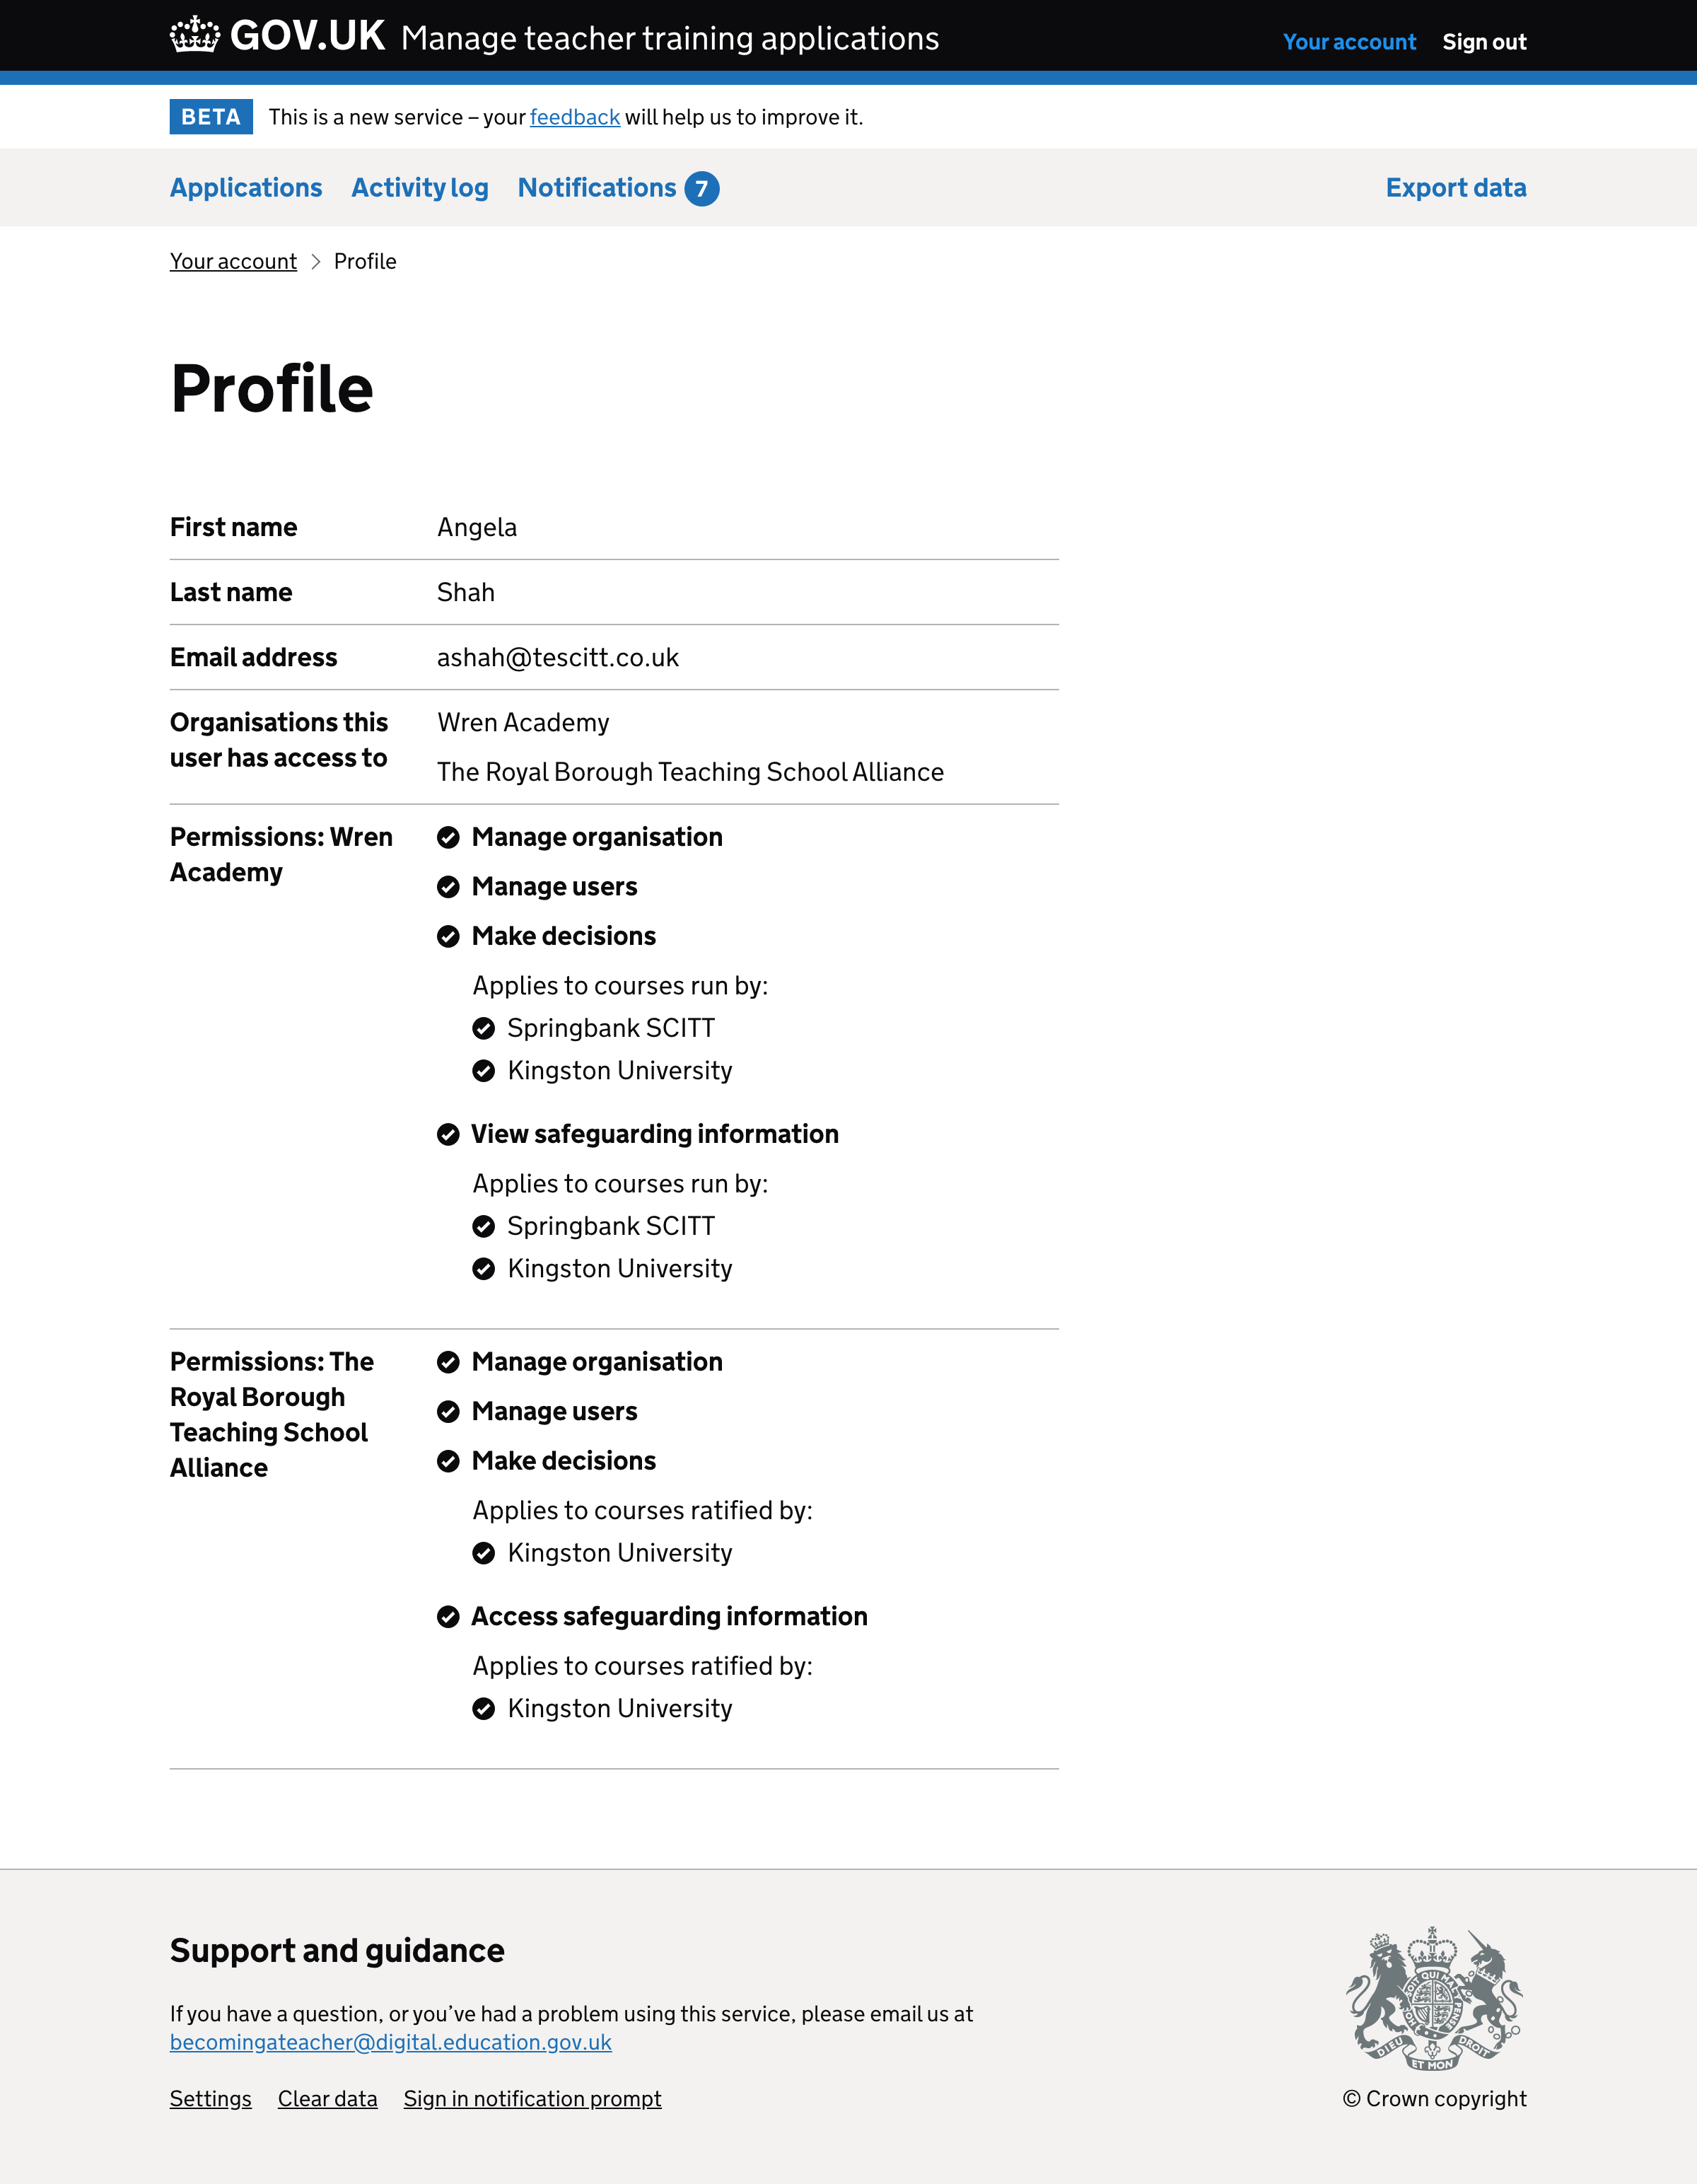
Introduce a profile page
Previously clicking ‘Account’ took the user to their profile.
But now the account section contains notification settings, users and organisational permissions too.
If we give users a profile page
Then users will be able to distinguish their profile from the account area
Change ‘Organisations’ for ‘Organisational permissions’
Previously the section to manage organisational permissions was labelled ‘Organisations’.
This is ambiguous because the user isn’t able to manage organisations.
If we name the section ‘Organisational permissions’
Then it will help users understand the intent of the section more quickly
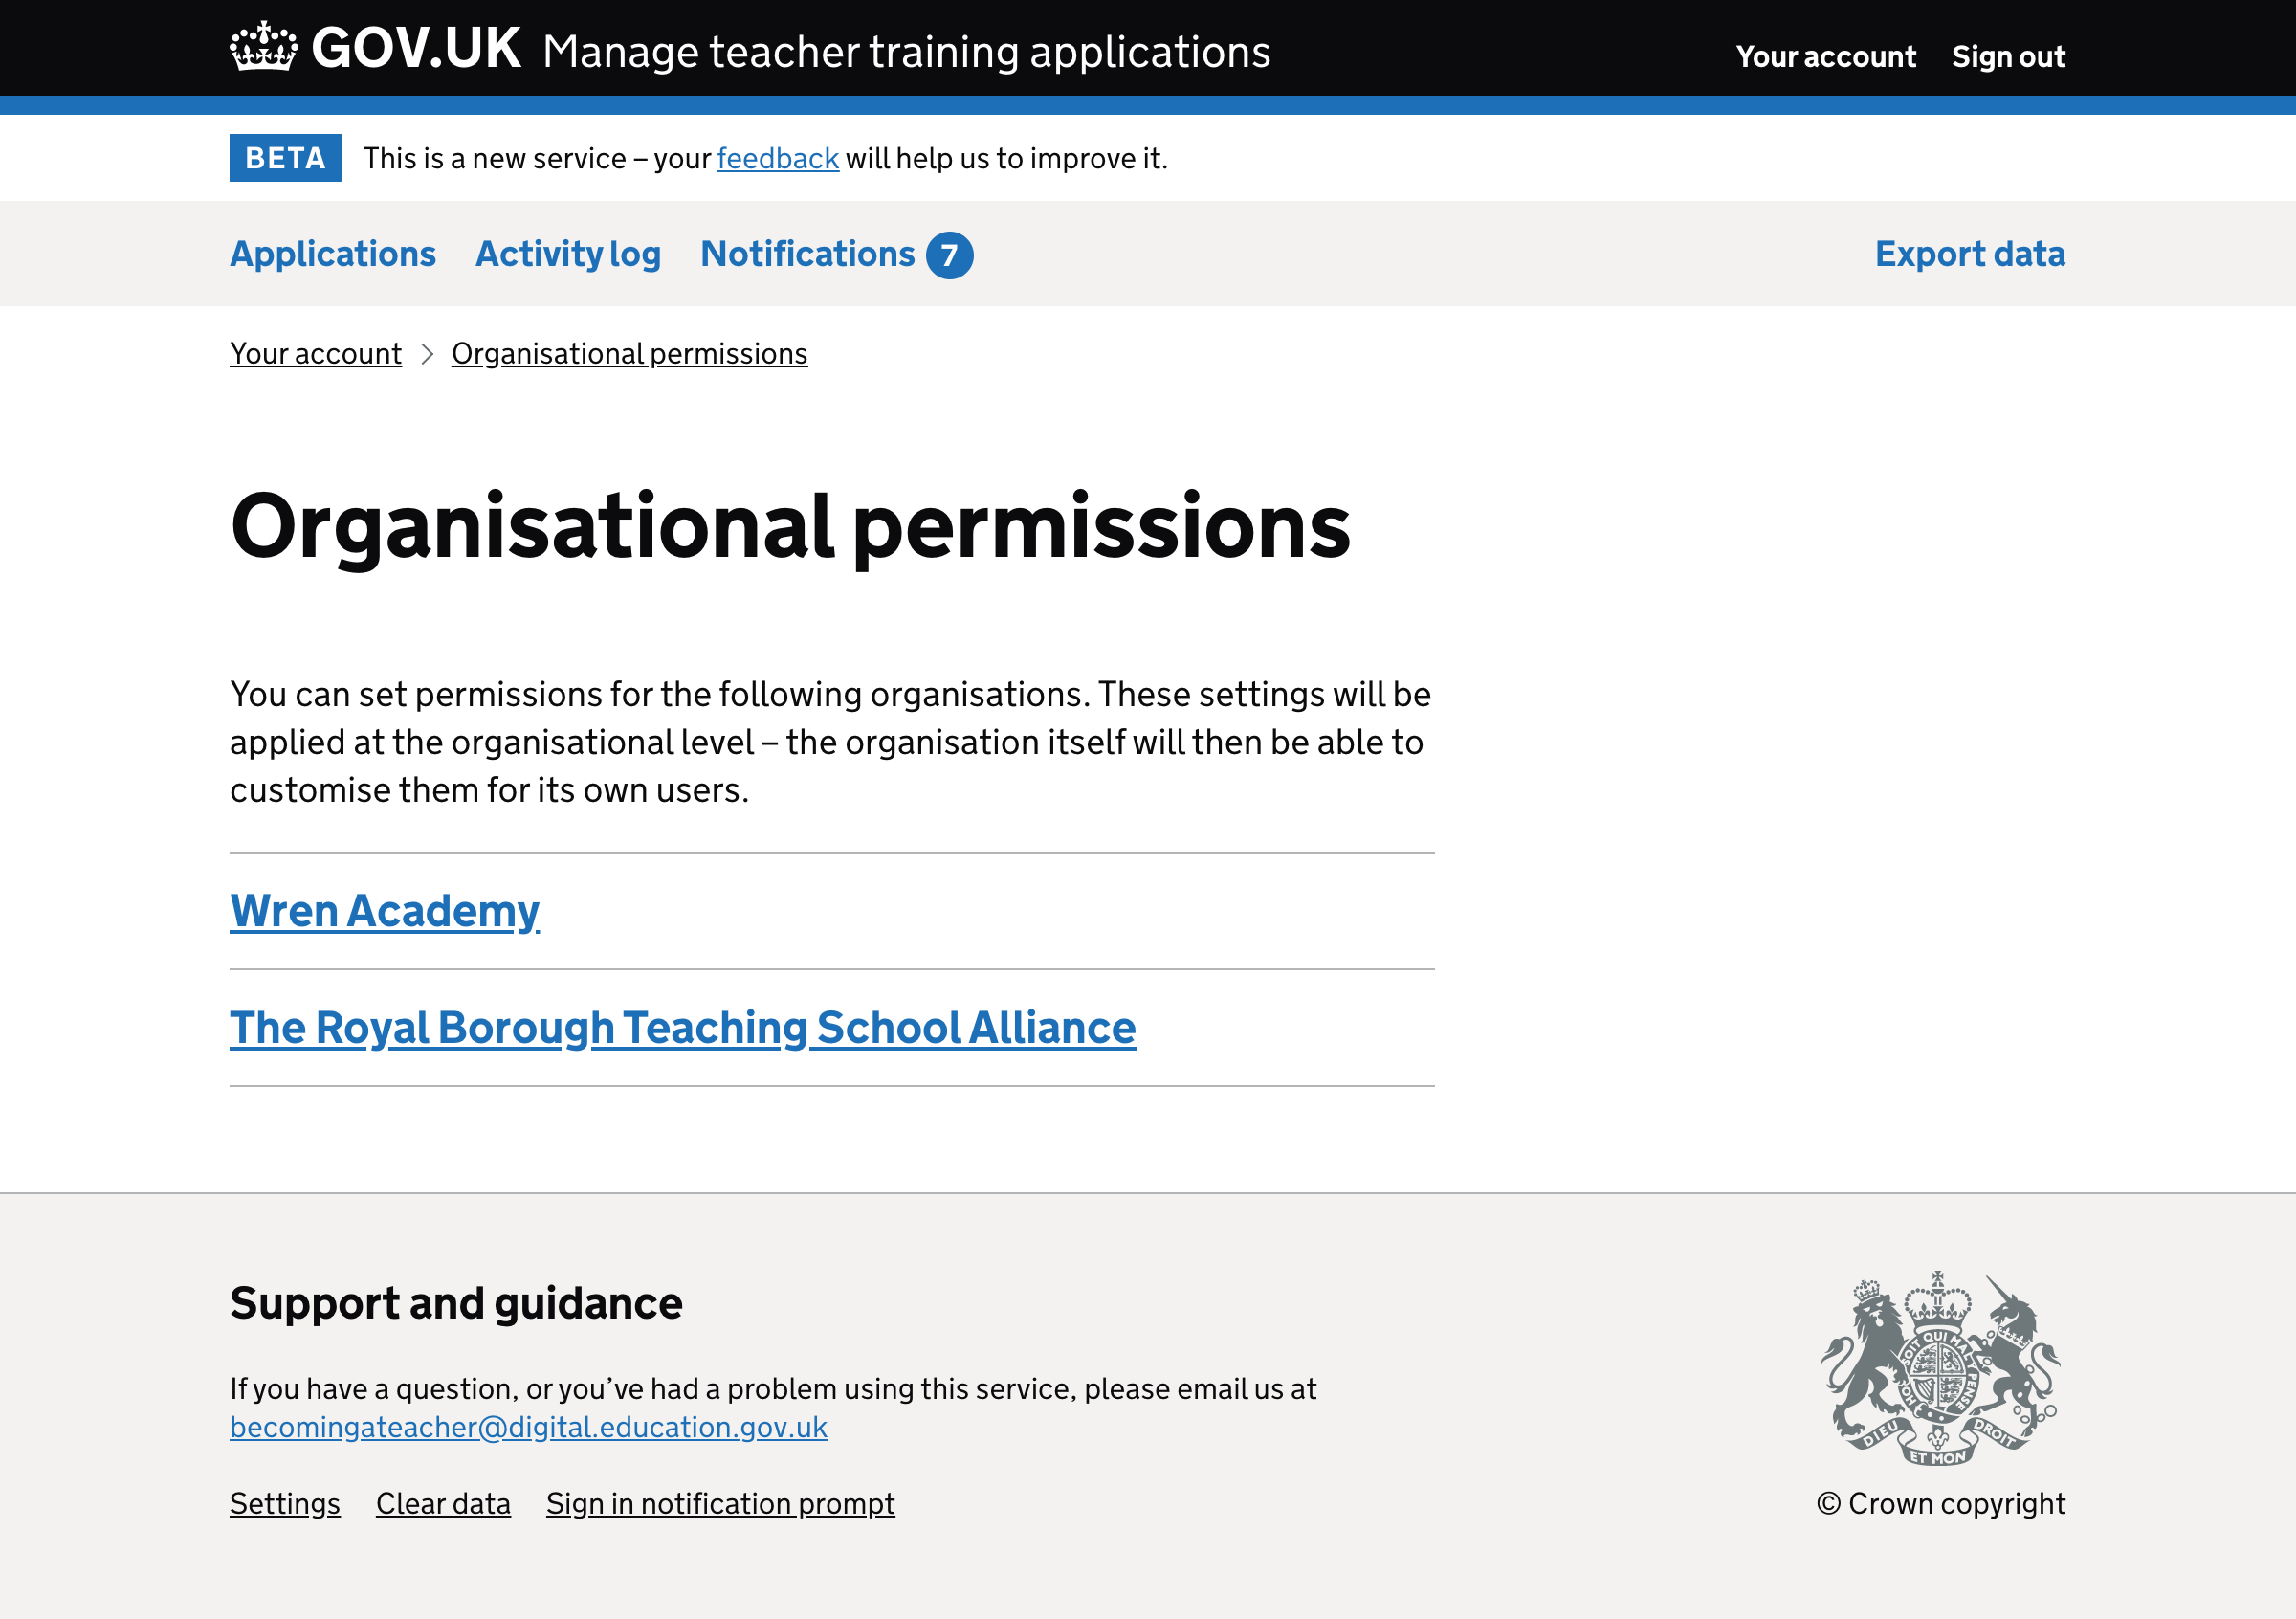
Providing guidance on the ‘Organisational permissions’ page
The previous iteration of this page had no guidance on how the organisational permissions work.
As it’s quite a complicated feature, we added some guidance at the top of the page.